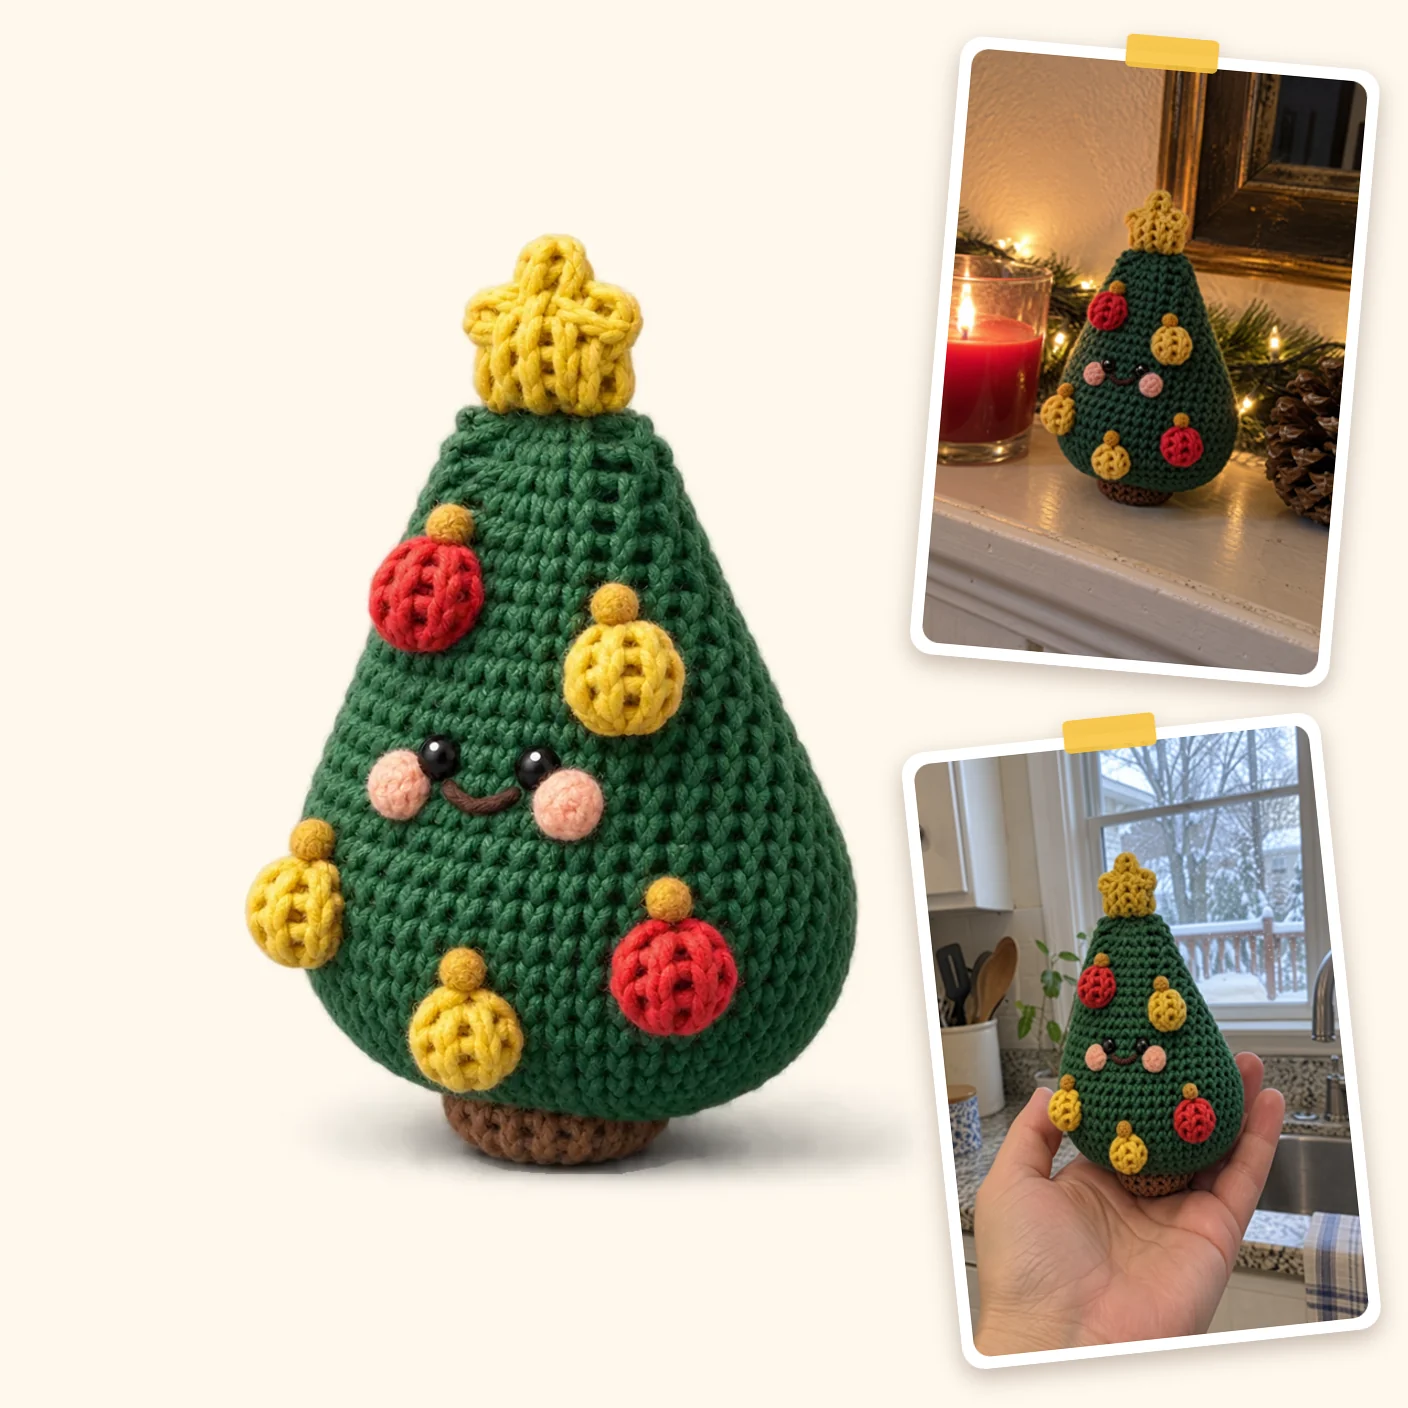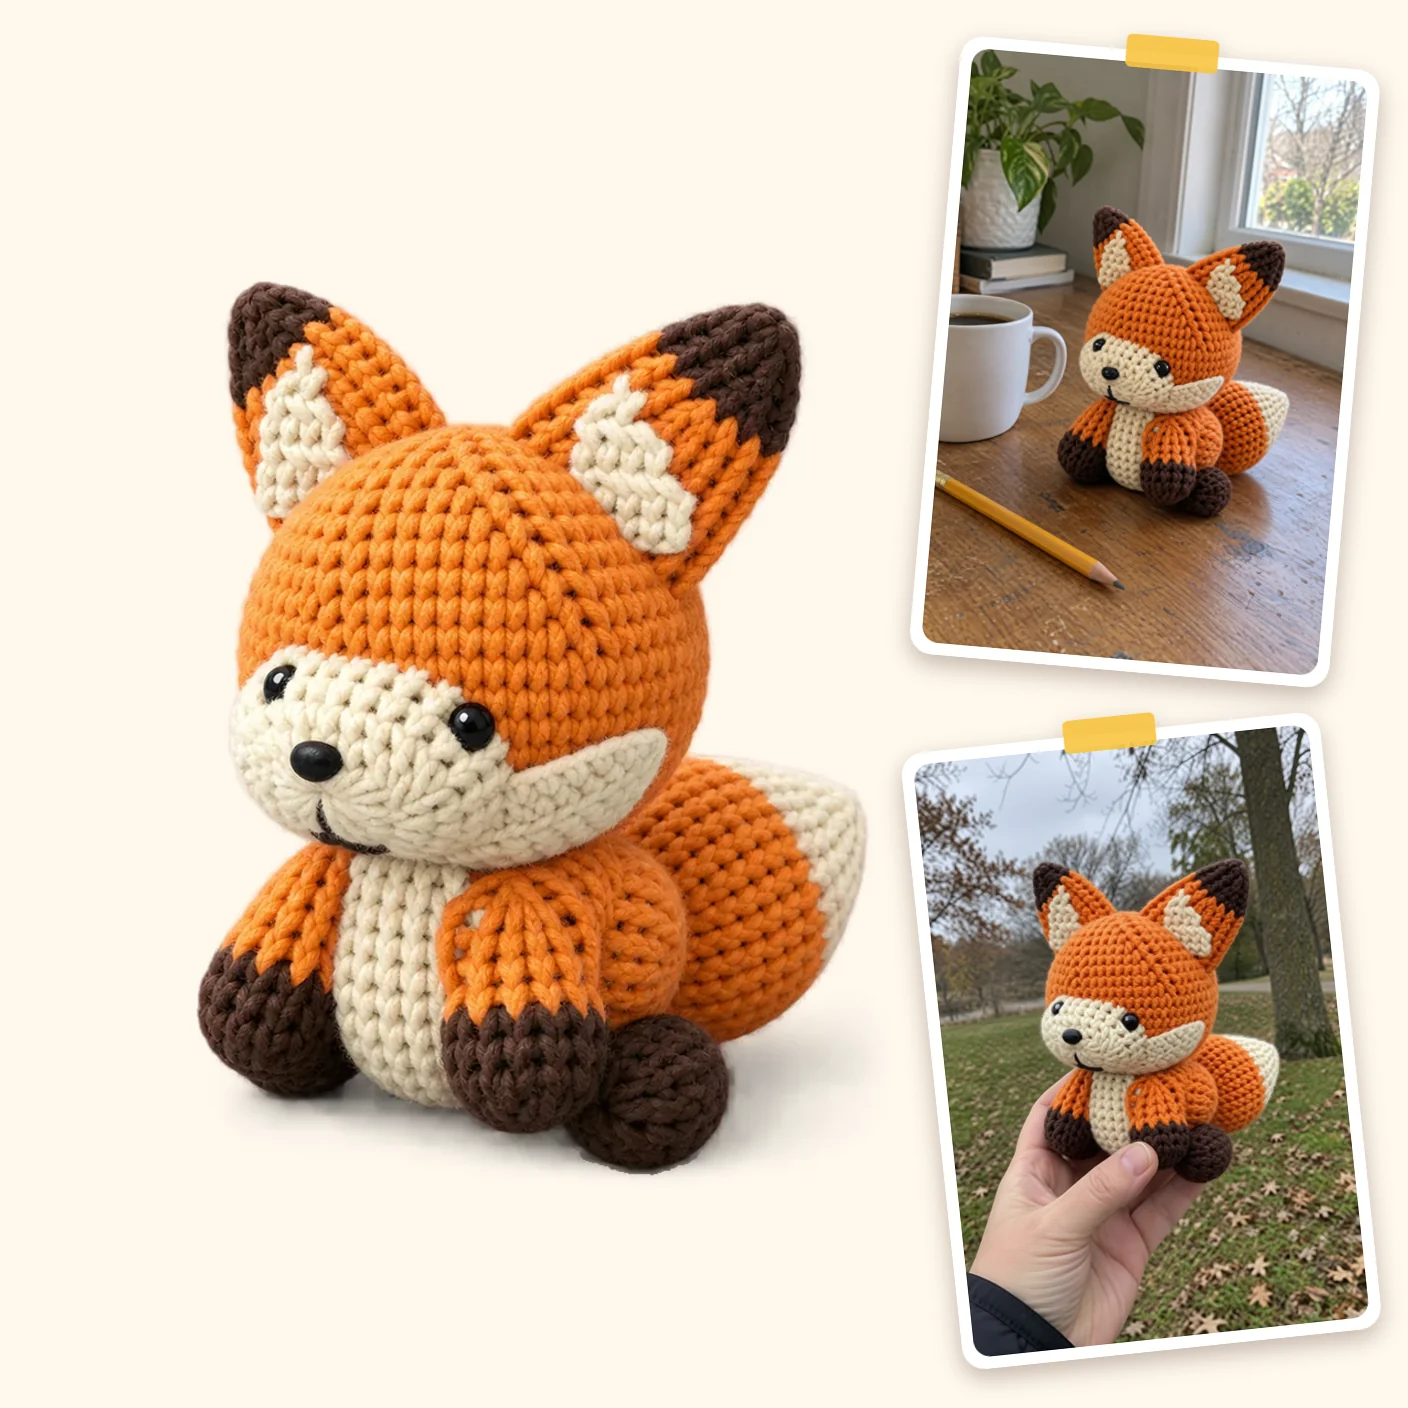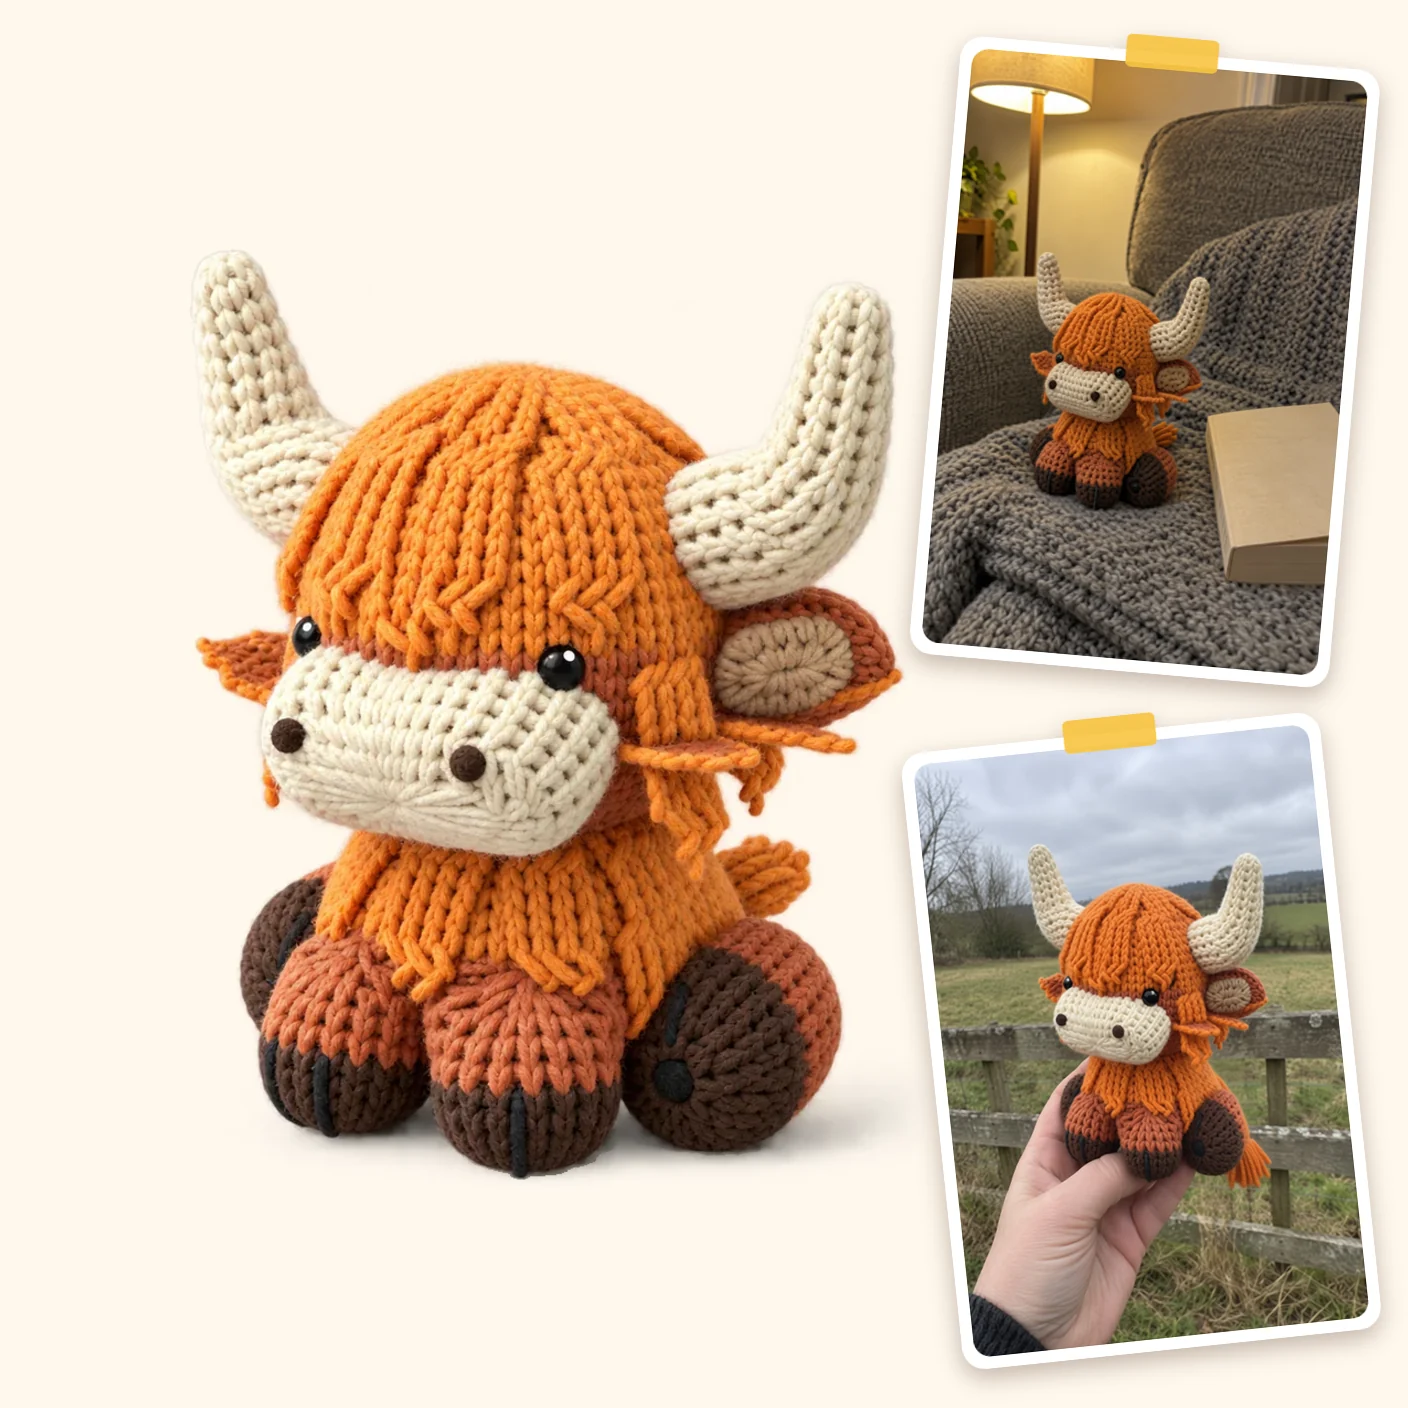
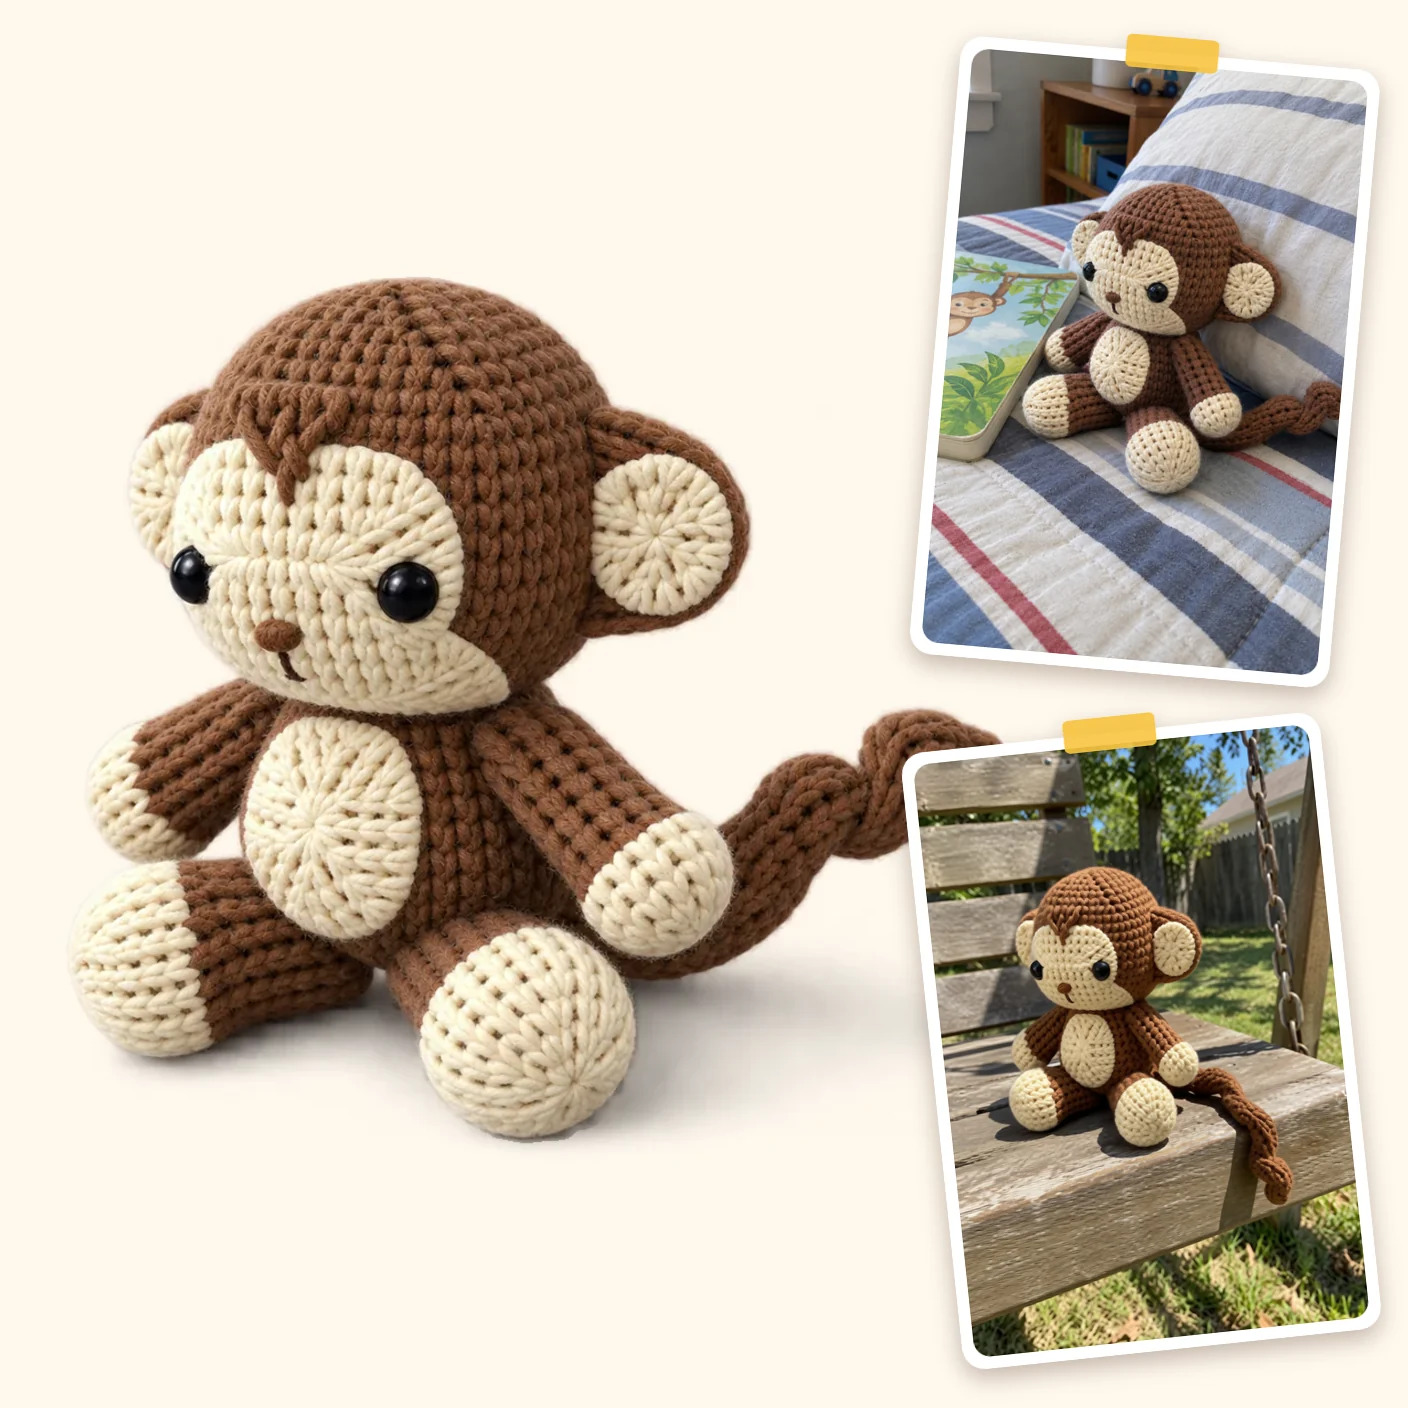

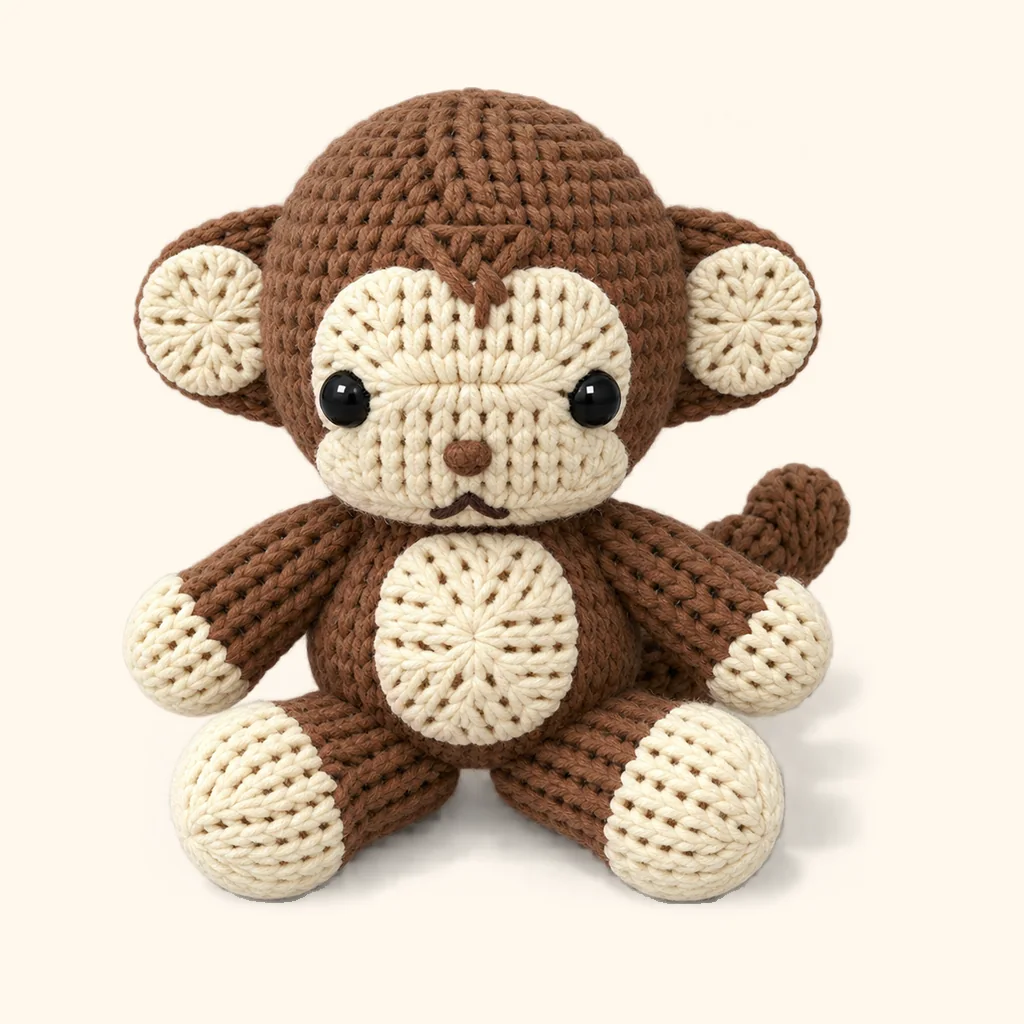
Never picked up a hook before? You're in the right spot. Together, step by step, we'll make this cute little sitting monkey.
At a glance
| Skill level | Intermediate |
| Finished size | about 7 in (17 cm) tall |
| Yarn | DK (light worsted) cotton |
| Hook | 3.5 mm (US E-4) |
| Colors | Brown, Cream, Dark chocolate |
| Pieces | body, upper face patch, hairline peak, muzzle patch, head, ear x2, inner ear x2, belly patch, leg x2, arm x2, tail |
What you'll need
Yarn
DK (light worsted): yarn weight 3, light
- Brown: Around 109 yd (100 m), 1 ball, 1.75 oz / 137 yd (50 g / 125 m)
- Cream: about 33 yd (30 m), 1 ball, 1.75 oz / 137 yd (50 g / 125 m)
- Dark chocolate: a small scrap
Tools and notions
- 3.5 mm crochet hook: for DK (light worsted) cotton yarn
- 12 mm black safety eyes: 1 pair
- Polyester toy stuffing: a couple of big handfuls
- Yarn needle (big eye, blunt tip)
- 1 stitch marker: A scrap of yarn or a paperclip will do as well.
- Scissors
Size and gauge
Monkey ends up around 7 in (17 cm) tall using this yarn and a 3.5 mm (US E-4) hook: roughly 20 sc and 22 rounds per 4 in (10 cm). Gauge doesn't really matter, a different yarn or hook just makes it bigger or smaller.
Abbreviations (US terms)
| Rnd | round, worked in a continuous spiral: don't join, move the stitch marker up each round |
| Row | worked back and forth: turn at the end of each row |
| sc | single crochet |
| inc | increase: 2 sc in the same stitch |
| dec | decrease: sc 2 stitches together (the invisible decrease looks neatest) |
| ch | chain |
| st(s) | stitch(es) |
| ( ) x6 | repeat what's in brackets 6 times |
| (12) | the stitches you have at the end of the round |
If you're just learning them, the crochet abbreviations page walks you through how to make each one.
Good to know
- Work your stitches tight, or the stuffing will peek out. Notice holes? Switch to a smaller hook.
- Work in a spiral, and at the beginning of every round, move your stitch marker up.
- When you're going to sew a piece on, keep a long tail on it.
- Safety eyes and small parts can be a choking hazard for children under 3. For little ones, embroider the eyes instead.
Techniques in this pattern
Just starting out with one of these? Every tutorial walks you through it, step by step, with photos.
- Magic ring: how the round pieces start
- Invisible decrease: smooth shaping without gaps
- Changing colors: clean lines between colors
- Safety eyes: where they go and how they lock
- Sewing the pieces together: neat seams that hide
- Reading the pattern: rounds, repeats and stitch counts
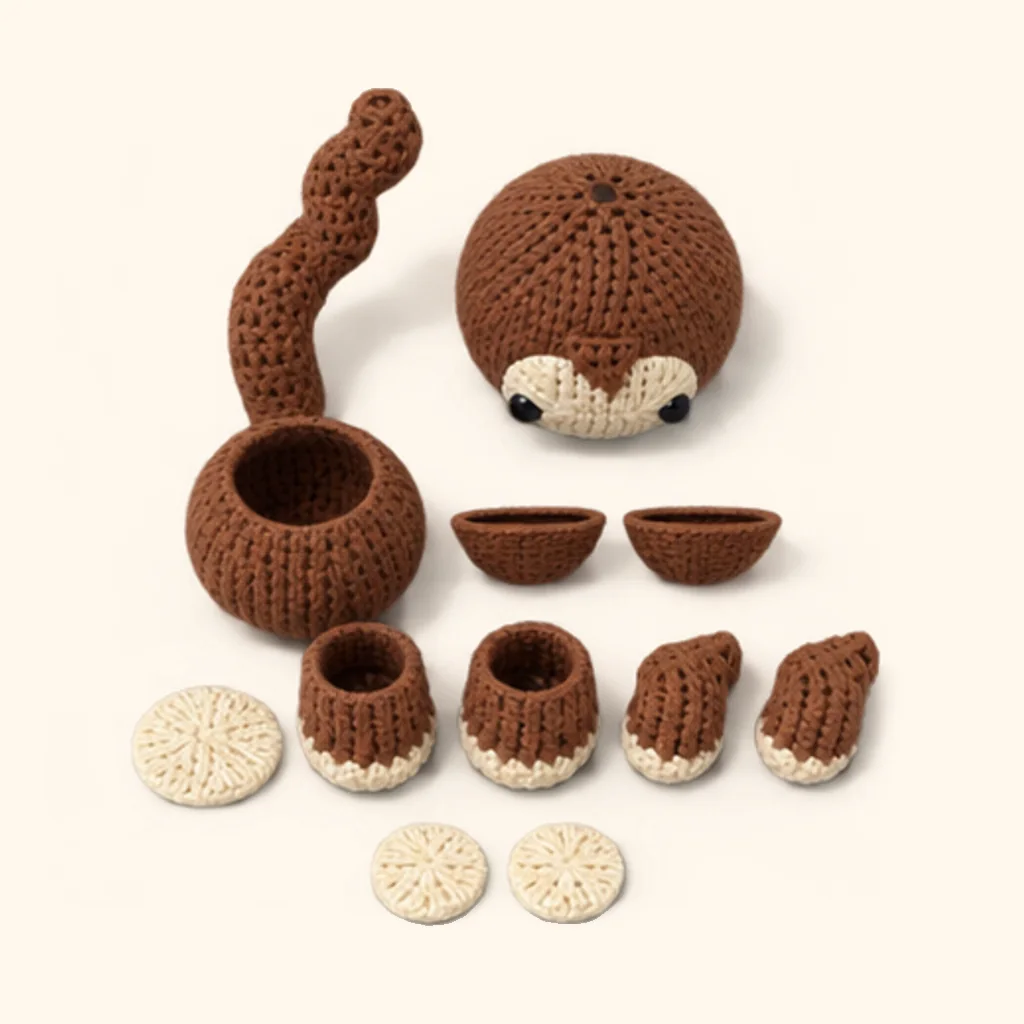
Rather follow pictures? Make the monkey in the app.
Crochet Pirate guides you through this pattern, step by step: a photo at each checkpoint, a round counter, and a quick video for every stitch it calls for.
Monkey crochet pattern
Work every section one after another, and at the close of each round count your stitches: the figure in brackets tells you how many you ought to have.
Body
Worked in brown.
| Round | Instructions | Stitches |
|---|---|---|
| Rnd 1 | 6 sc in magic ring | (6) |
| Rnd 2 | inc x6 | (12) |
| Rnd 3 | (sc, inc) x6 | (18) |
| Rnd 4 | (sc 2, inc) x6 | (24) |
| Rnd 5 | (sc 3, inc) x6 | (30) |
| Rnd 6 | (sc 4, inc) x6 | (36) |
| Rnd 7 | (sc 5, inc) x6 | (42) |
Check: What you should end up with is a flat circle measuring roughly 2.6 in (6.7 cm) across, and around the edge you'll have 42 stitches.
| Round | Instructions | Stitches |
|---|---|---|
| Rnds 8-12 | sc in each st around | (42) |
| Rnd 13 | (sc 5, dec) x6 | (36) |
Check: Your piece ought to look like an open cup, roughly 2.6 in (6.7 cm) across and 0.9 in (2.3 cm) deep, with 36 stitches around the rim.
| Round | Instructions | Stitches |
|---|---|---|
| Rnds 14-15 | sc in each st around | (36) |
| Rnd 16 | (sc 4, dec) x6 | (30) |
| Rnd 17 | sc in each st around | (30) |
| Rnd 18 | (sc 3, dec) x6 | (24) |
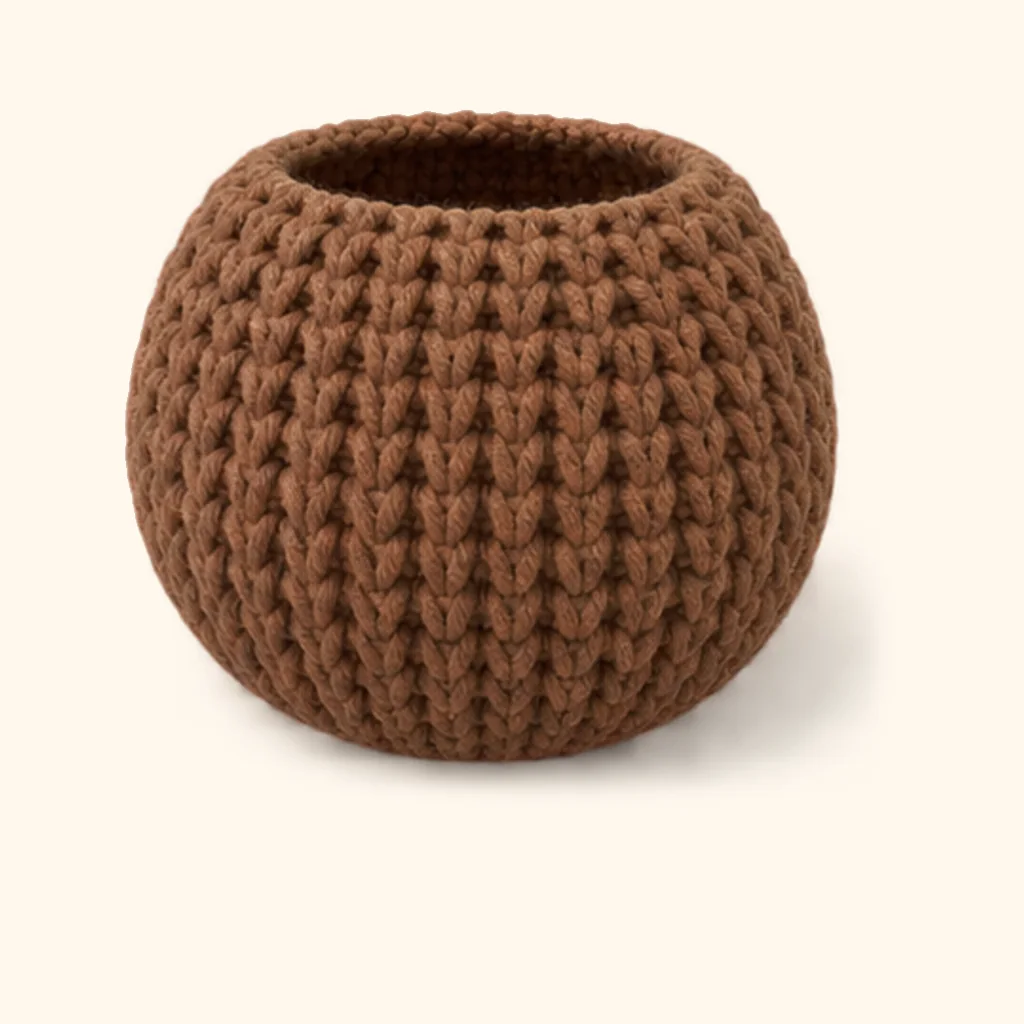
Note: Slip stitch into the next stitch, and then cut your yarn, leaving a long tail (around 12 in / 30 cm). Push the stuffing to the tip with the back of your hook, and stuff it softly.
Check: Great job! Now your body should be an open piece around 2.4 in (6.1 cm) long and 2.8 in (7.2 cm) wide, with a long tail of yarn left.
Upper face patch
Worked in cream.
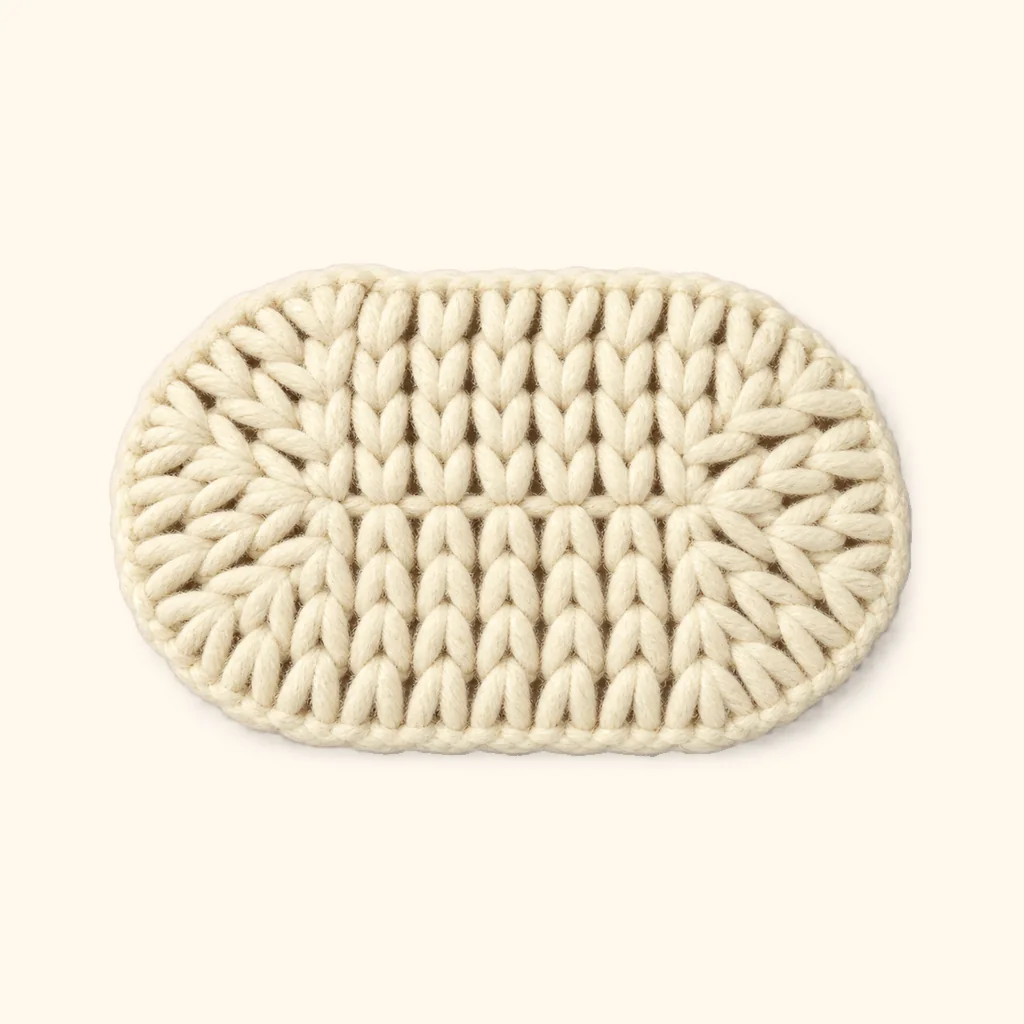
Note: Ch 7. Make a slip knot, then chain 7. That little chain forms the oval's spine, you'll work your crochet all around it.
| Round | Instructions | Stitches |
|---|---|---|
| Rnd 1 | sc 5, 3 sc in last ch, sc 5, 3 sc in skipped ch | (16) |
| Rnd 2 | sc 5, inc x3, sc 5, inc x3 | (22) |
Check: Your piece ought to come out as a tiny flat oval, with 22 stitches around its edge.
| Round | Instructions | Stitches |
|---|---|---|
| Rnd 3 | sc 5, (sc, inc) x3, sc 5, (sc, inc) x3 | (28) |
| Rnd 4 | sc 5, (sc 2, inc) x3, sc 5, (sc 2, inc) x3 | (34) |
Note: Slip stitch in the next stitch to make the edge neat, then cut the yarn and leave a long tail (about 12 in / 30 cm) for sewing. Put it to one side: it goes on the head as you make it, right before the eyes go in.
Check: All set! The upper face patch you made should be a flat oval now, around 2.5 in (6.3 cm) long and 2.1 in (5.4 cm) wide, with a long yarn tail left over.
Hairline peak
Worked in brown.
Note: Ch 6. Make a slip knot, then chain 6. This piece works up flat: along that chain you crochet back and forth in rows, and you turn at the end of every row.
| Round | Instructions | Stitches |
|---|---|---|
| Row 1 | sc 5 | (5) |
| Row 2 | ch 1, turn, dec, sc, dec | (3) |
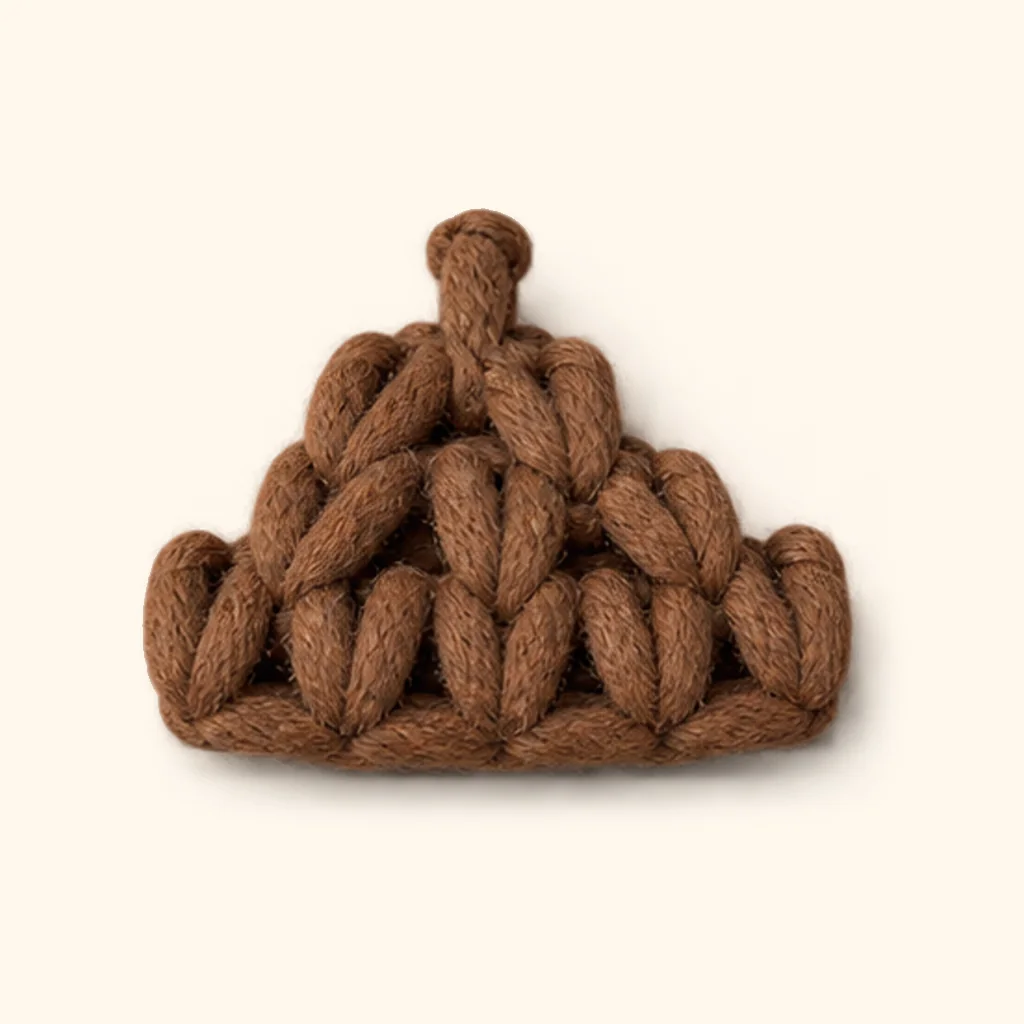
Check: Your piece ought to come out as a flat trapezoid, roughly 0.6 in (1.5 cm) wide and 0.4 in (0.9 cm) tall, with 3 stitches across the final row.
| Round | Instructions | Stitches |
|---|---|---|
| Row 3 | ch 1, turn, dec, sc | (2) |
| Row 4 | ch 1, turn, dec | (1) |
Note: Leave a long tail, roughly 12 in (30 cm), when you snip the yarn for sewing, then draw it through the final loop. Put it to one side: as you work, it sits on the head, right before the eyes are added.
Check: All set! Your hairline peak is now a flat trapezoid, roughly 1 in (2.5 cm) wide and 0.7 in (1.8 cm) tall, plus a long yarn tail.
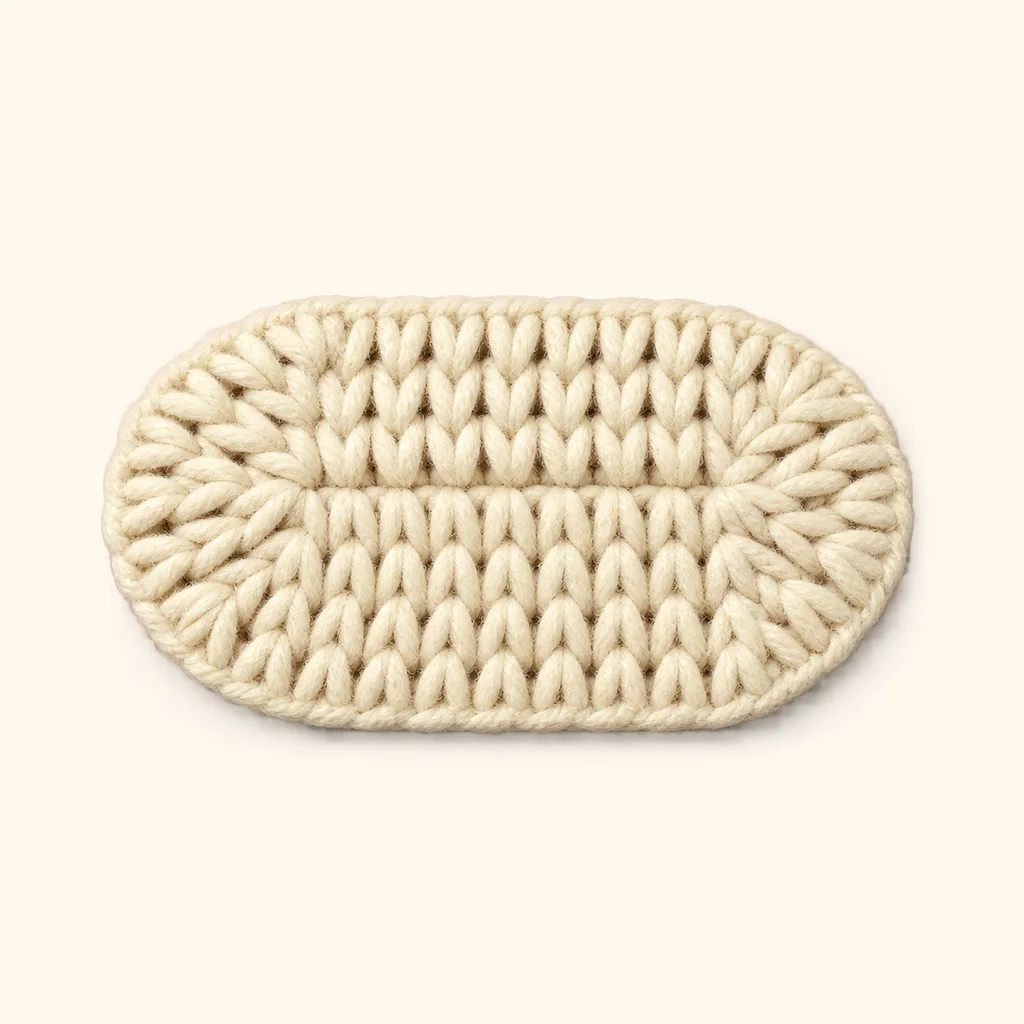
Muzzle patch
Worked in cream.
Note: Ch 9. Start with a slip knot, then make 9 chains. That little chain forms the oval's spine, you'll work around the whole thing.
| Round | Instructions | Stitches |
|---|---|---|
| Rnd 1 | sc 7, 3 sc in last ch, sc 7, 3 sc in skipped ch | (20) |
| Rnd 2 | sc 7, inc x3, sc 7, inc x3 | (26) |
Check: What you should end up with is a little flat oval, and around its edge there will be 26 stitches.
| Round | Instructions | Stitches |
|---|---|---|
| Rnd 3 | sc 7, (sc, inc) x3, sc 7, (sc, inc) x3 | (32) |
| Rnd 4 | sc 7, (sc 2, inc) x3, sc 7, (sc 2, inc) x3 | (38) |
Note: Slip stitch in the next stitch to make the edge neat, then cut the yarn and leave a long tail (about 12 in / 30 cm) for sewing. Put it to one side: it goes on the head as you make it, right before the eyes go in.
Check: All set! Your muzzle patch is now a flat oval, roughly 2.9 in (7.3 cm) long and 2.4 in (6 cm) wide, with a long yarn tail.
Head
Worked in brown.
| Round | Instructions | Stitches |
|---|---|---|
| Rnd 1 | 6 sc in magic ring | (6) |
| Rnd 2 | inc x6 | (12) |
| Rnd 3 | (sc, inc) x6 | (18) |
| Rnd 4 | (sc 2, inc) x6 | (24) |
| Rnd 5 | (sc 3, inc) x6 | (30) |
| Rnd 6 | (sc 4, inc) x6 | (36) |
| Rnd 7 | (sc 5, inc) x6 | (42) |
| Rnd 8 | (sc 6, inc) x6 | (48) |
| Rnd 9 | (sc 7, inc) x6 | (54) |
| Rnd 10 | (sc 8, inc) x6 | (60) |
Check: Yours ought to come out as a flat circle, roughly 3.7 in (9.5 cm) wide, with 60 stitches around the edge.
| Round | Instructions | Stitches |
|---|---|---|
| Rnds 11-18 | sc in each st around | (60) |
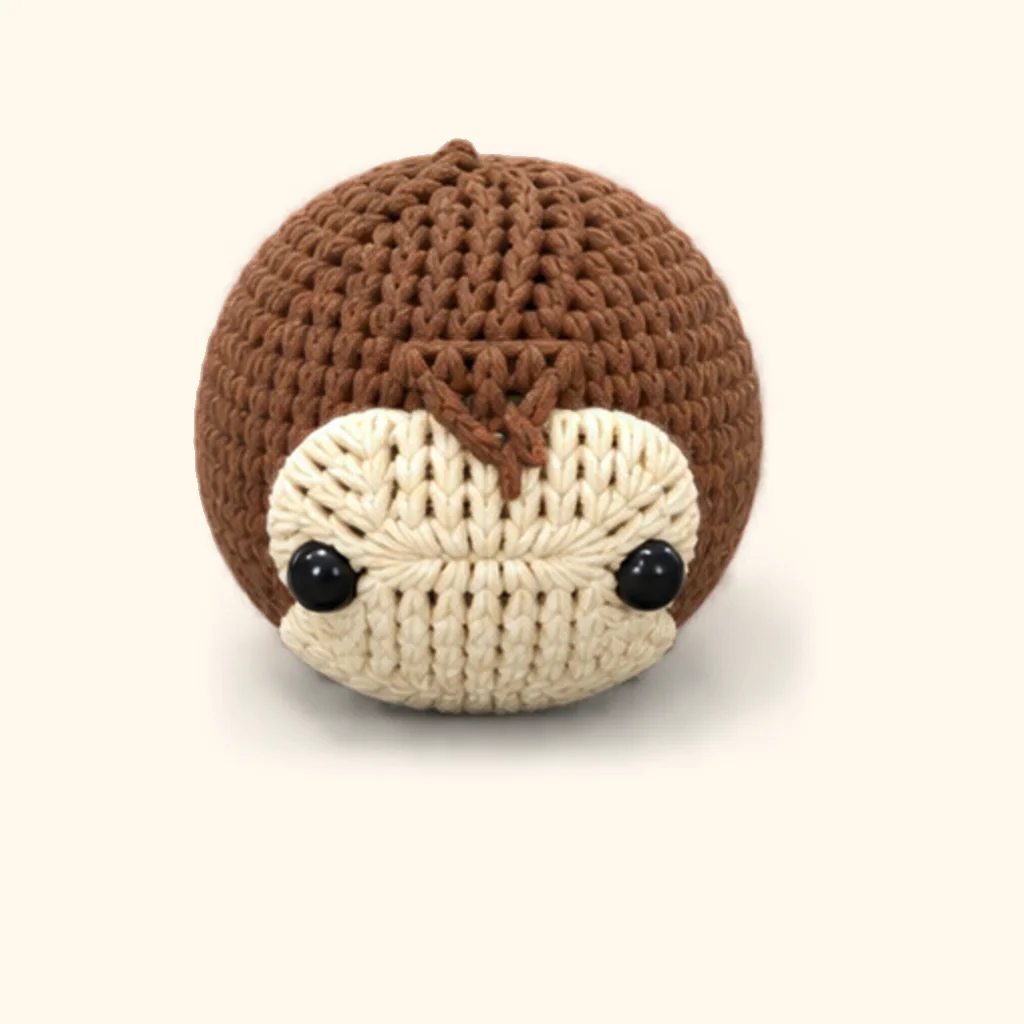
Note: Eye time, start with the face. Grab the upper face patch, hairline peak, and muzzle patch you made before. Pin the upper face patch at the front, in the middle, on round 13; the hairline peak at the front, in the middle, on round 17; and the muzzle patch at the front, in the middle, on round 7. Then push each safety eye through the muzzle patch, hairline peak, and upper face patch, into the head between round 17 and round 18, leaving 2 stitches between them. Take a look from far away, then snap the backs on inside: once they click, they stay forever. While you can still reach inside, sew around the edge of each upper face patch, hairline peak, and muzzle patch with its long tail, starting with the bottom one.
| Round | Instructions | Stitches |
|---|---|---|
| Rnd 19 | (sc 8, dec) x6 | (54) |
Check: Your piece needs to look like an open cup, roughly 3.7 in (9.5 cm) across and 1.4 in (3.6 cm) deep, and you'll have 54 stitches around the edge.
| Round | Instructions | Stitches |
|---|---|---|
| Rnd 20 | (sc 7, dec) x6 | (48) |
| Rnd 21 | (sc 6, dec) x6 | (42) |
| Rnd 22 | (sc 5, dec) x6 | (36) |
| Rnd 23 | (sc 4, dec) x6 | (30) |
| Rnd 24 | (sc 3, dec) x6 | (24) |
| Rnd 25 | (sc 2, dec) x6 | (18) |
Note: Push the filling in now, while the opening is still wide enough. Grab little tufts, start by tucking them into the far end, and keep at it until it feels solid and bouncy. Add a bit more before the final round.
Check: What you make should come out as a stuffed piece, around 3.8 in (9.7 cm) wide and 3 in (7.7 cm) tall, leaving an opening of 18 stitches.
| Round | Instructions | Stitches |
|---|---|---|
| Rnd 26 | (sc, dec) x6 | (12) |
| Rnd 27 | dec x6 | (6) |
Note: When you're done, snip the yarn and leave a tail about the length of your hand. Put it on the yarn needle, pass it through the front loop of every one of the last stitches, then pull it tight, just like a drawstring bag, the hole closes up. If this piece will be sewn on, keep a long tail; if not, tuck it inside.
Check: All set! Your head is now stuffed nice and firm and closed up all the way, around 3.5 in (8.9 cm) wide and 3.5 in (8.9 cm) tall.
Ear (make 2)
Worked in brown.
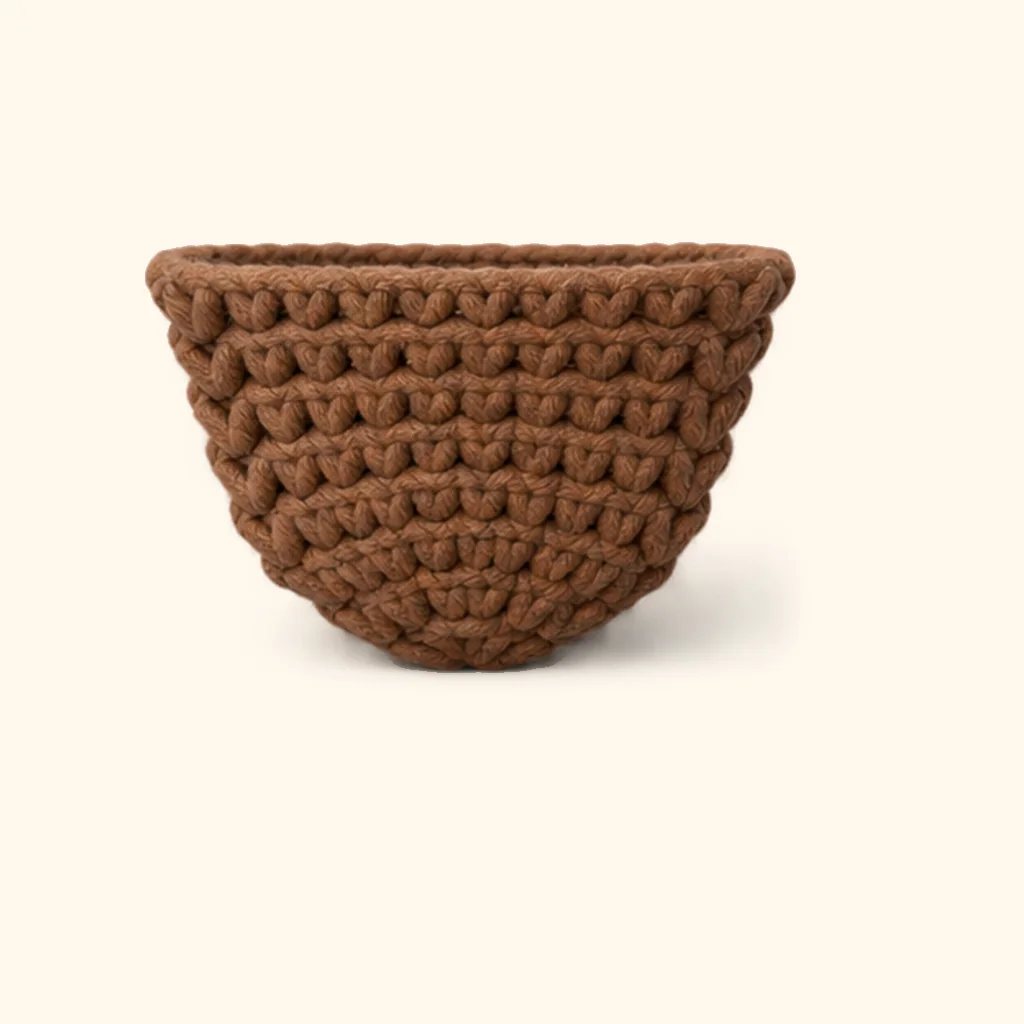
| Round | Instructions | Stitches |
|---|---|---|
| Rnd 1 | 6 sc in magic ring | (6) |
| Rnd 2 | inc x6 | (12) |
| Rnd 3 | (sc, inc) x6 | (18) |
| Rnd 4 | (sc 8, inc) x2 | (20) |
Check: What you want is a flat circle, roughly 1.3 in (3.2 cm) wide, and it should have 20 stitches around the outside.
| Round | Instructions | Stitches |
|---|---|---|
| Rnds 5-8 | sc in each st around | (20) |
Note: Flatten the opening while lining up the stitches from both layers. Work across through both layers, 10 sc, one into each pair of stitches, so it closes in a straight seam. Leave a long tail when you cut the yarn (around 12 in / 30 cm), this seam is where you'll sew the ear on.
Check: All set! Your ear is now a flat double layer, roughly 1.9 in (4.7 cm) wide and 1.3 in (3.2 cm) long (pressed flat, not stuffed), with a straight seam at the end and a long yarn tail.
Inner ear (make 2)
Worked in cream.
| Round | Instructions | Stitches |
|---|---|---|
| Rnd 1 | 6 sc in magic ring | (6) |
| Rnd 2 | inc x6 | (12) |
| Rnd 3 | (sc, inc) x6 | (18) |
Note: Slip stitch into the next stitch to make the edge smooth, then cut the yarn and leave a long tail (around 12 in / 30 cm) for sewing.
Check: All set! Now your inner ear ought to be a flat circle, roughly 1.1 in (2.9 cm) wide, plus a long yarn tail.
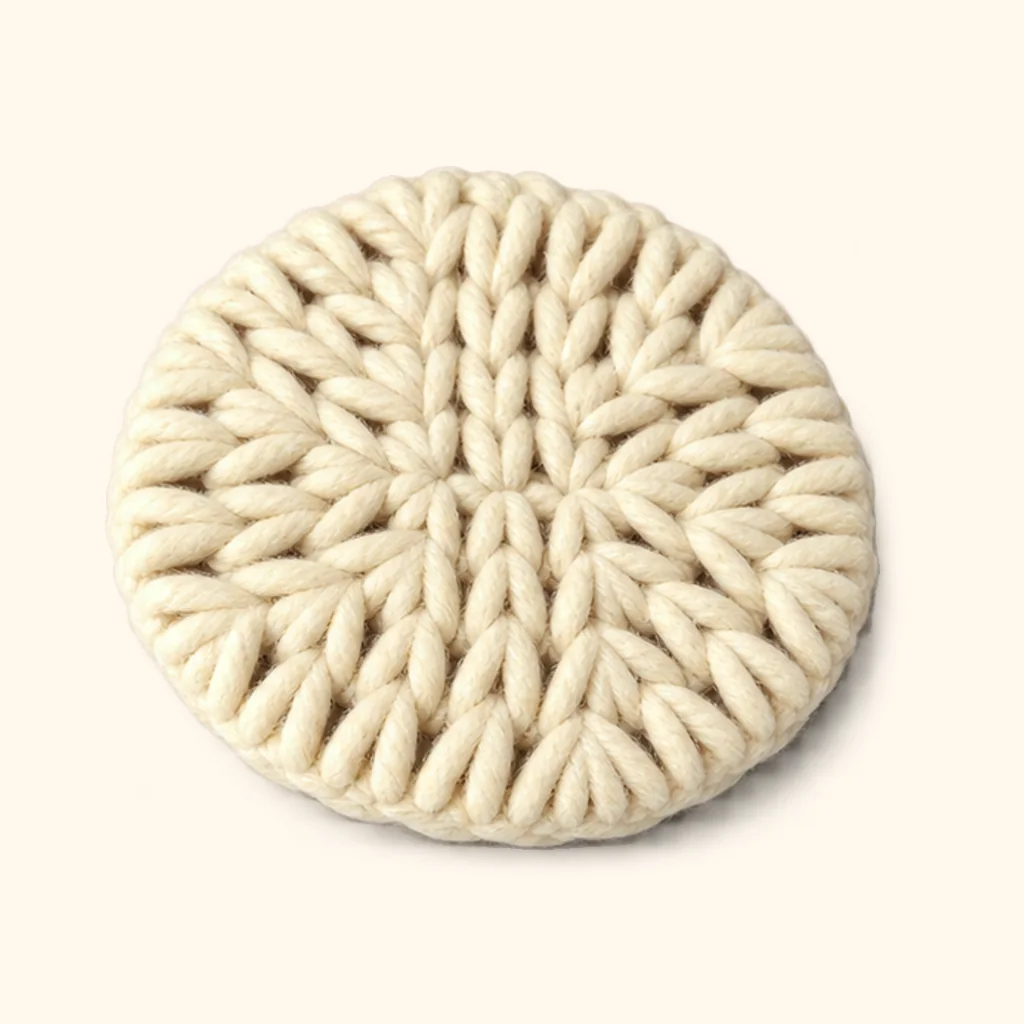
Belly patch
Worked in cream.
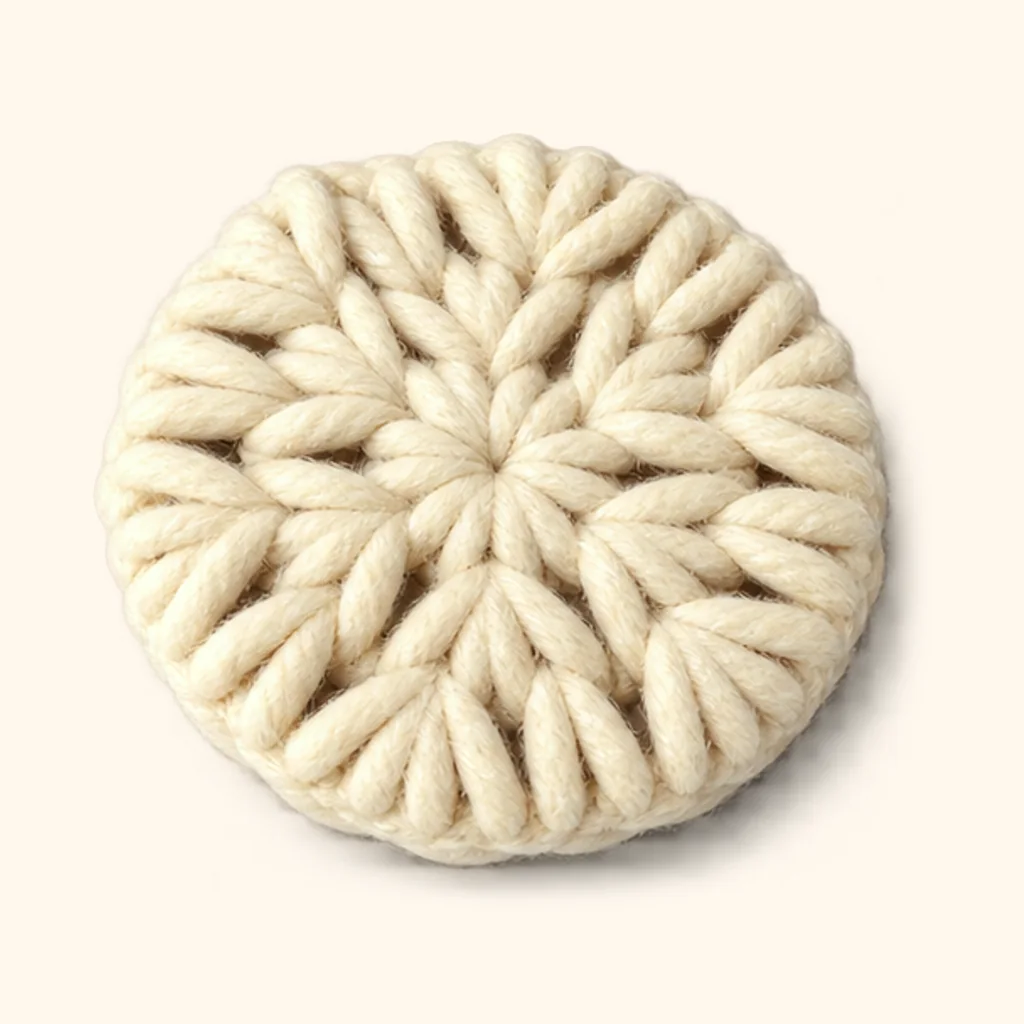
Note: Ch 3. Make a slip knot, then chain 3. That little chain is the backbone of the oval, you'll work all the way around it.
| Round | Instructions | Stitches |
|---|---|---|
| Rnd 1 | sc, 3 sc in last ch, sc, 3 sc in skipped ch | (8) |
| Rnd 2 | sc, inc x3, sc, inc x3 | (14) |
Check: What you should end up with is a little flat oval, and around its edge there will be 14 stitches.
| Round | Instructions | Stitches |
|---|---|---|
| Rnd 3 | sc, (sc, inc) x3, sc, (sc, inc) x3 | (20) |
| Rnd 4 | sc, (sc 2, inc) x3, sc, (sc 2, inc) x3 | (26) |
Note: Slip stitch into the next stitch to make the edge smooth, then cut the yarn and leave a long tail (around 12 in / 30 cm) for sewing.
Check: All right! Now your belly patch ought to be a flat oval, roughly 1.6 in (4.1 cm) wide and 1.7 in (4.3 cm) long, with a long yarn tail.
Leg (make 2)
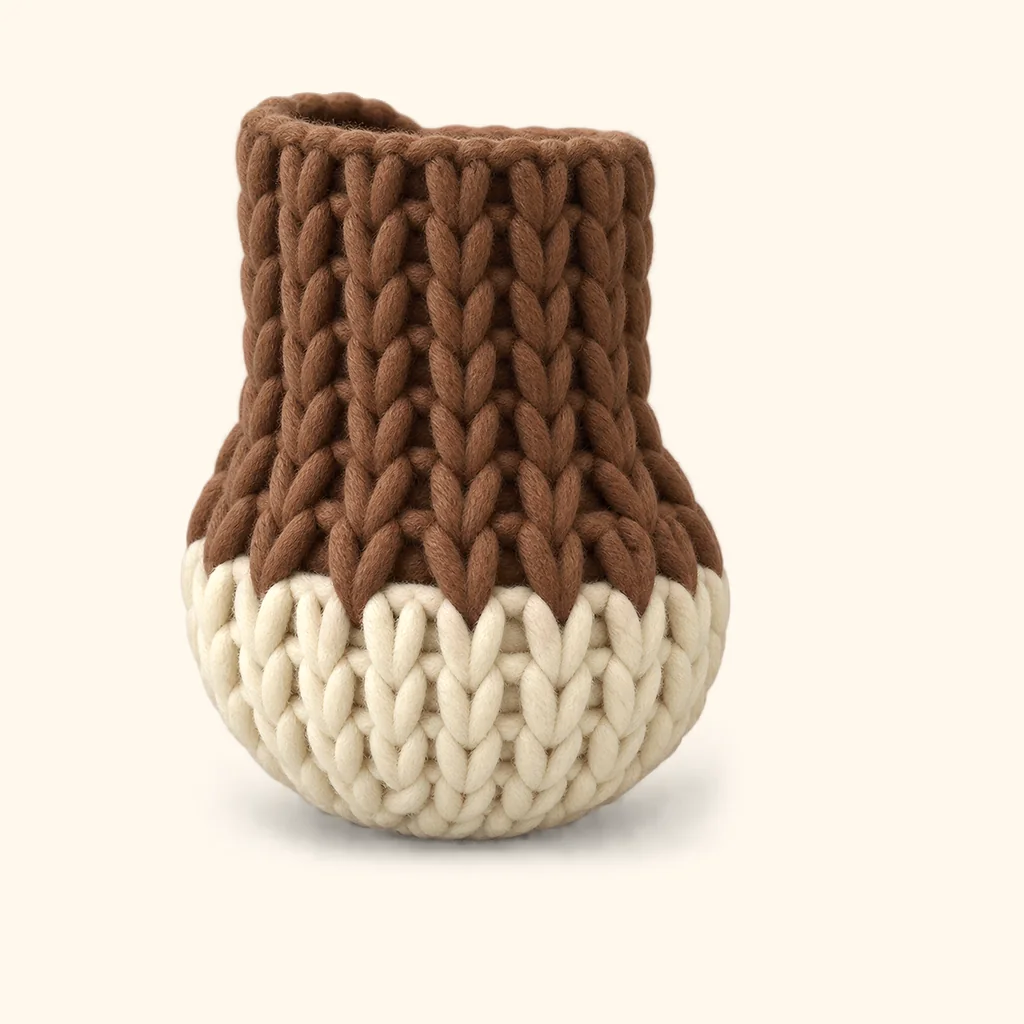
Worked in cream and brown.
| Round | Instructions | Stitches |
|---|---|---|
| Rnd 1 | 6 sc in magic ring | (6) |
| Rnd 2 | inc x6 | (12) |
| Rnd 3 | (sc, inc) x6 | (18) |
| Rnd 4 | (sc 5, inc) x3 | (21) |
Check: Your circle needs to be flat, roughly 1.3 in (3.3 cm) wide, and you should have 21 stitches around the outside.
| Round | Instructions | Stitches |
|---|---|---|
| Rnds 5-7 | sc in each st around | (21) |
Note: Switch colors! At the end of round 7, on that final stitch, pause with 2 loops left on your hook, then pull the brown yarn through. Keep going in brown starting with round 8. On the inside, loosely knot the two tails together.
| Round | Instructions | Stitches |
|---|---|---|
| Rnd 8 | (sc 5, dec) x3 | (18) |
| Rnd 9 | (sc 7, dec) x2 | (16) |
Check: What you want is an open cup shape, roughly 1.3 in (3.3 cm) across and 1 in (2.6 cm) deep, with 16 stitches around the rim.
| Round | Instructions | Stitches |
|---|---|---|
| Rnds 10-14 | sc in each st around | (16) |
Note: Slip stitch into the next stitch. Then cut the yarn, leaving a long tail, around 12 in (30 cm), since you'll use it to sew the leg on. With the back of your hook, push the stuffing gently down to the end.
Check: Great work! Your leg is now an open piece that's about 1.5 in (3.8 cm) wide and 2.2 in (5.6 cm) long, and it has a long yarn tail.
Arm (make 2)
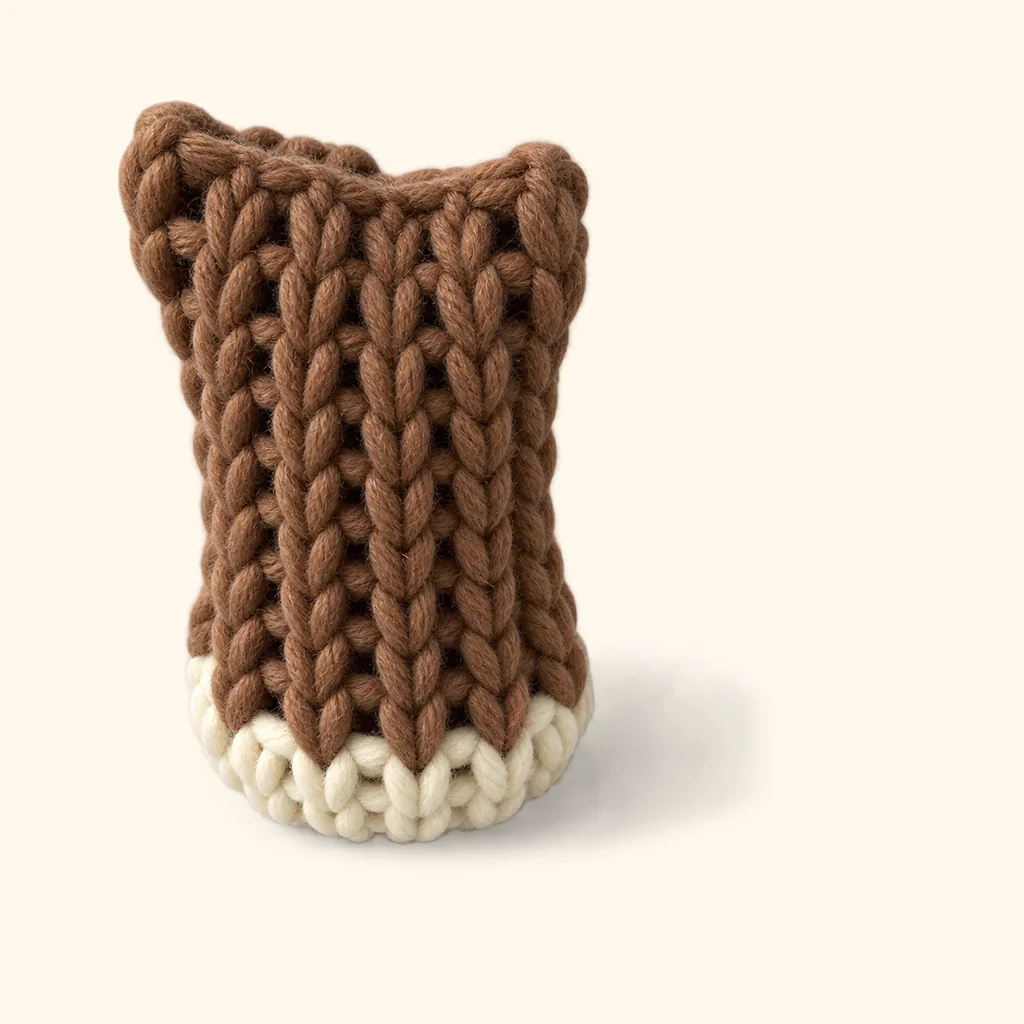
Worked in cream and brown.
| Round | Instructions | Stitches |
|---|---|---|
| Rnd 1 | 6 sc in magic ring | (6) |
| Rnd 2 | inc x6 | (12) |
| Rnd 3 | (sc 3, inc) x3 | (15) |
Check: What you want is a flat circle, roughly 0.9 in (2.4 cm) wide, and it should have 15 stitches around the outer edge.
| Round | Instructions | Stitches |
|---|---|---|
| Rnds 4-5 | sc in each st around | (15) |
Note: Color switch! At the end of round 5, on that last stitch, pause when 2 loops are left on your hook, then pull the brown yarn through. From round 6 on, keep going with brown. On the inside, loosely knot the two tails together.
| Round | Instructions | Stitches |
|---|---|---|
| Rnd 6 | (sc 3, dec) x3 | (12) |
| Rnds 7-9 | sc in each st around | (12) |
Check: You want yours to be an open cup, roughly 0.9 in (2.4 cm) wide and 1.2 in (3 cm) deep, and it should have 12 stitches around the edge.
| Round | Instructions | Stitches |
|---|---|---|
| Rnds 10-14 | sc in each st around | (12) |
Note: Fill it just a bit, leave the end close to the opening empty so it sits flat. Flatten the opening, matching up the stitches from both layers. Work across through both layers, 6 sc, one in each pair of stitches, to shut it with a straight seam. Leave a long tail when you cut the yarn (around 12 in / 30 cm), you'll use it to sew the arm on along this seam.
Check: All set! Your arm should be a closed piece now, around 1.1 in (2.7 cm) wide and 2.4 in (6 cm) long, with a straight seam across the end and a long yarn tail.
Tail
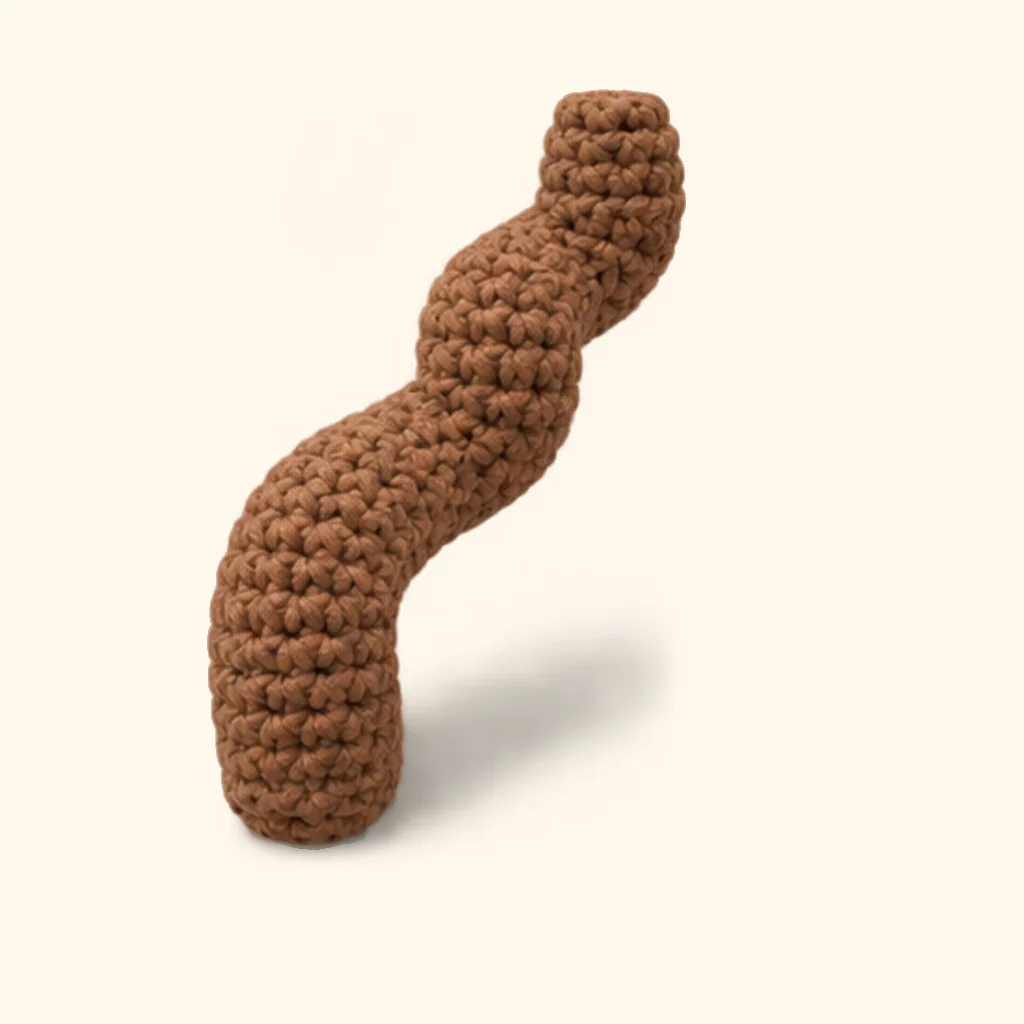
Worked in brown.
| Round | Instructions | Stitches |
|---|---|---|
| Rnd 1 | 6 sc in magic ring | (6) |
| Rnd 2 | inc x6 | (12) |
Check: What you want is a flat circle, roughly 0.7 in (1.9 cm) wide, and the edge should have 12 stitches.
| Round | Instructions | Stitches |
|---|---|---|
| Rnds 3-6 | sc in each st around | (12) |
| Rnd 7 | inc x2, sc 4, dec x2, sc 2 | (12) |
| Rnd 8 | sc in each st around | (12) |
| Rnd 9 | inc x2, sc 4, dec x2, sc 2 | (12) |
| Rnd 10 | sc in each st around | (12) |
| Rnd 11 | inc x2, sc 4, dec x2, sc 2 | (12) |
| Rnd 12 | sc in each st around | (12) |
| Rnd 13 | inc x2, sc 4, dec x2, sc 2 | (12) |
| Rnd 14 | sc in each st around | (12) |
Note: Push the filling in now, while the opening is still wide enough. Grab little tufts, start by tucking them into the far end, and keep at it until it feels solid and bouncy. Add a bit more before the final round.
Check: What you make should end up like a stuffed shape, around 0.9 in (2.2 cm) wide and 2.4 in (6.2 cm) tall, and you'll leave an opening of 12 stitches.
| Round | Instructions | Stitches |
|---|---|---|
| Rnd 15 | (sc 4, dec) x2 | (10) |
| Rnd 16 | sc in each st around | (10) |
| Rnd 17 | inc x2, sc 3, dec x2, sc | (10) |
Check: What you want is a stuffed shape that measures around 0.9 in (2.2 cm) across and 3 in (7.7 cm) high, and you'll leave 10 stitches open.
| Round | Instructions | Stitches |
|---|---|---|
| Rnds 18-28 | inc x2, sc 3, dec x2, sc | (10) |
| Rnd 29 | (sc 3, dec) x2 | (8) |
| Rnd 30 | inc, sc 3, dec, sc 2 | (8) |
| Rnd 31 | (sc 2, dec) x2 | (6) |
Note: When you're done, snip the yarn and leave a tail about the length of your hand. Put it on the yarn needle, pass it through the front loop of every one of the last stitches, then pull it tight, just like a drawstring bag, the hole closes up. If this piece will be sewn on, keep a long tail; if not, tuck it inside.
Check: All set! Your tail is now a fully closed piece, firmly stuffed, measuring around 0.9 in (2.2 cm) wide and 6 in (14.7 cm) tall.
Putting the monkey together
Now that every part is done, we can join them and see your monkey take shape.
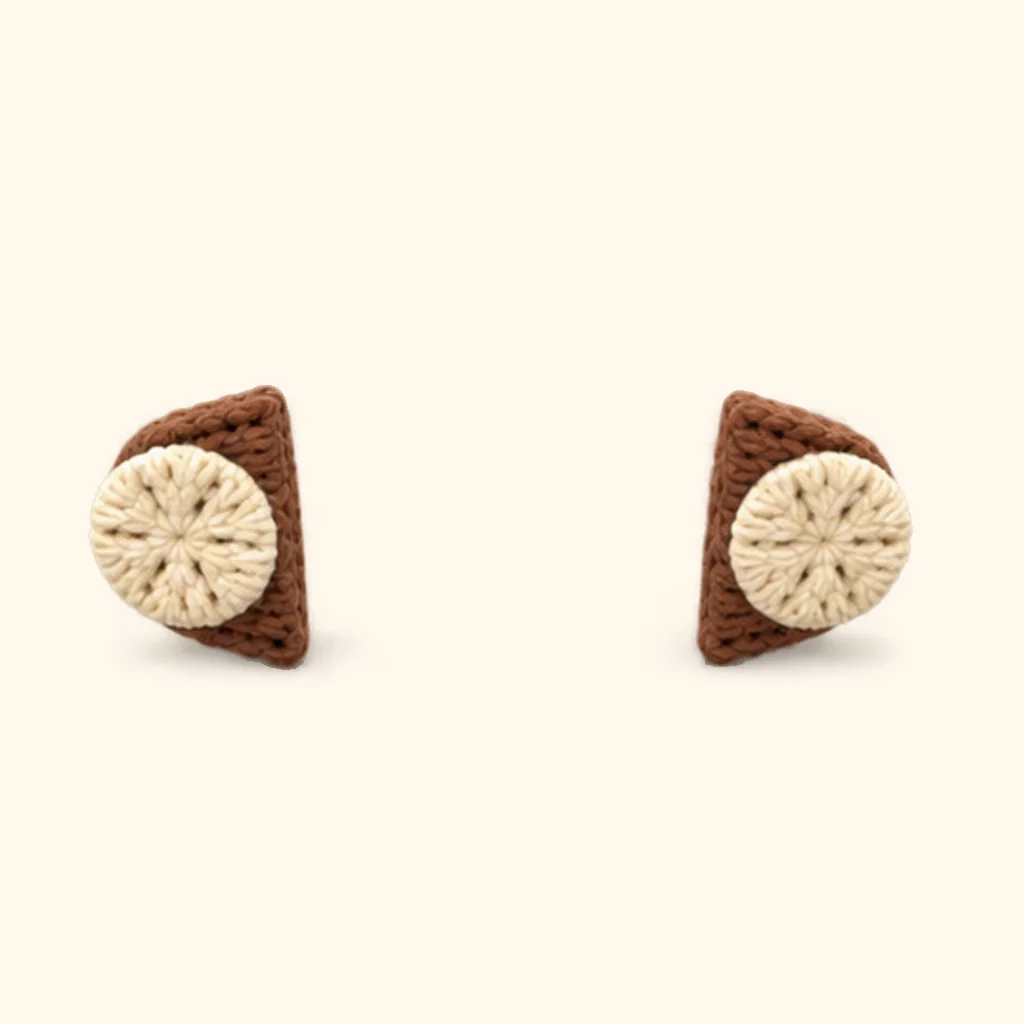
1. Attach the inner ears
Place the first one on the ear at round 4, at the front, in the middle. Pin the flat inner ear flat on the ear, and sew around its edge with the long tail, catching the ear underneath with every stitch. It will curve to follow the ear, that's what you want. Then do the same for the other one on the other side, mirrored.
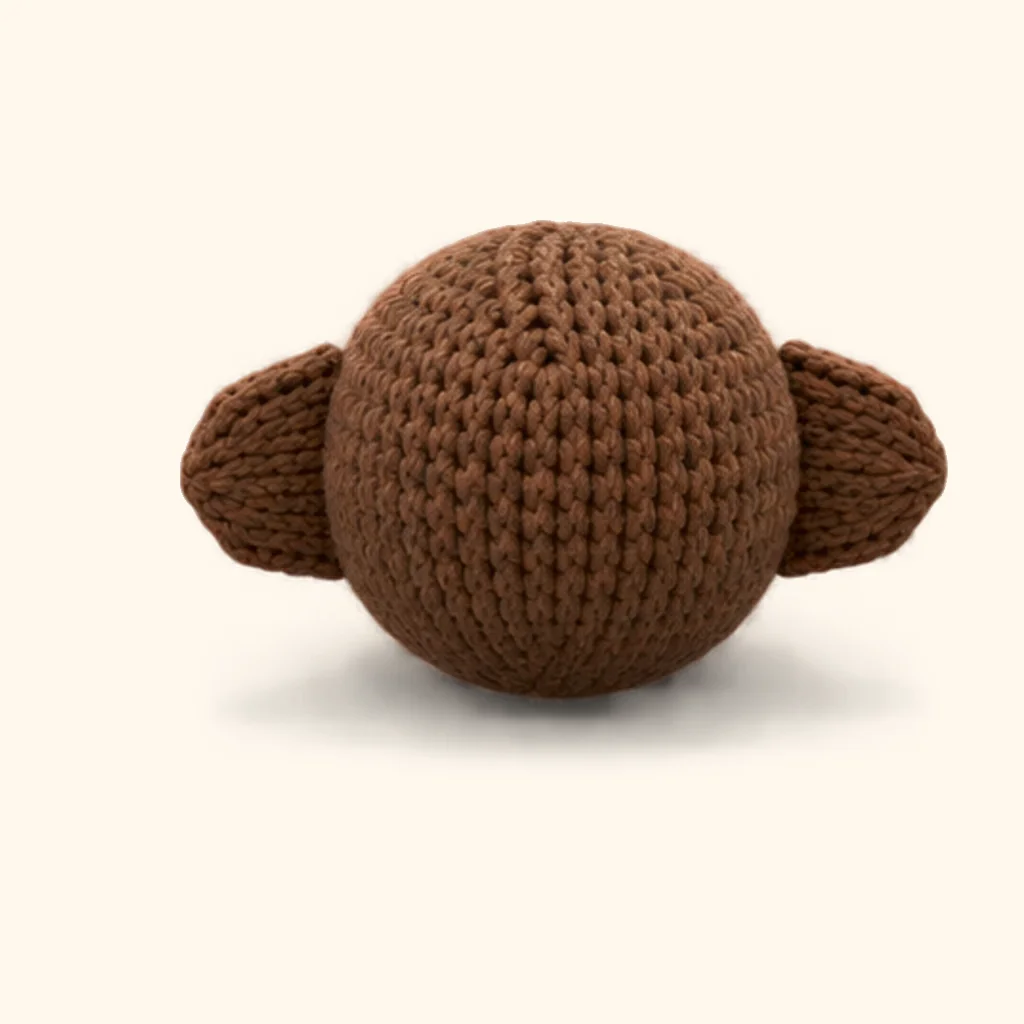
2. Attach the ears
Put the first one on the head at round 14, one on each side. Keep the straight seam next to the head and stitch along it through both pieces, back and forth. It should point straight out when you're done. After that, do the same with the other one on the other side, but mirrored.
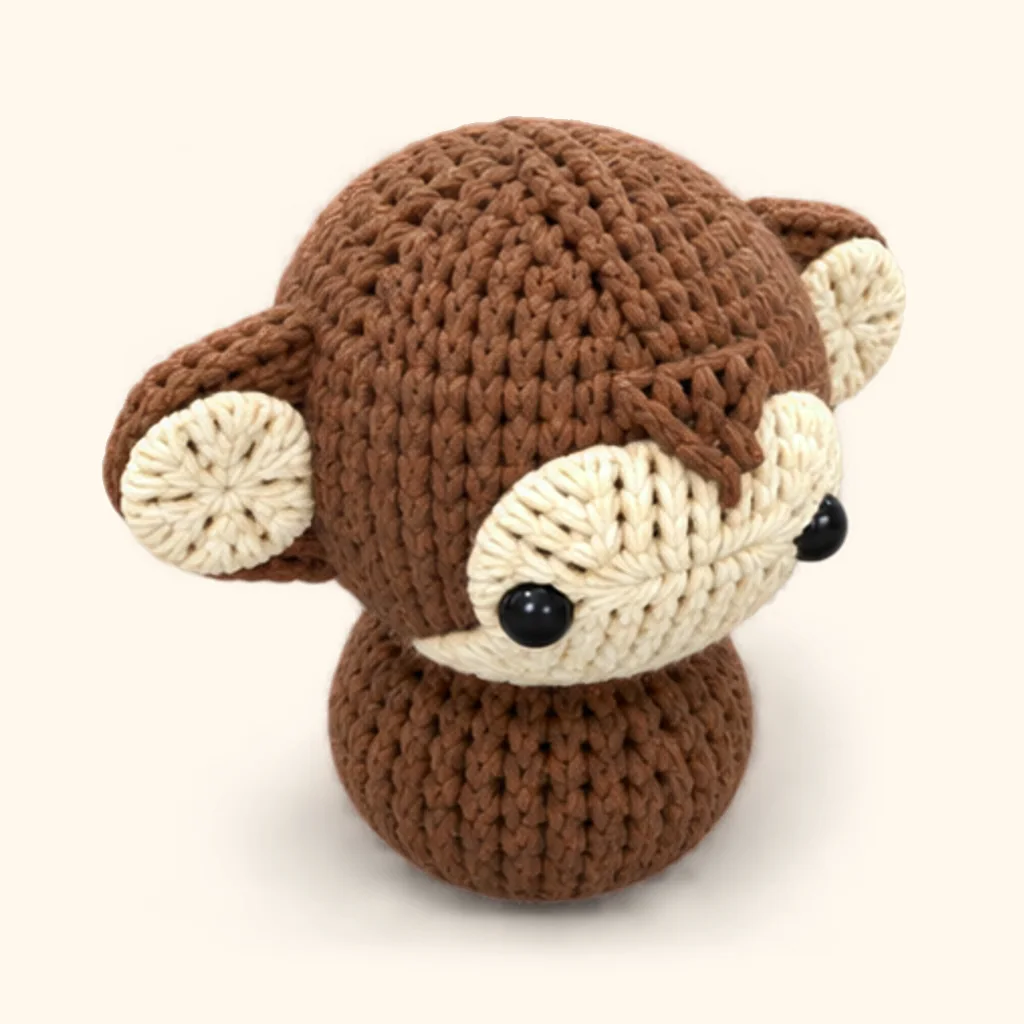
3. Attach the head
Put it centered right on top of the body, on its last round, 18. Take the starting end of the head (the magic ring spot) and hold it against the body, then sew back and forth around where they meet, and after that pull the yarn tight so no gap shows. It should point straight out when you're done.
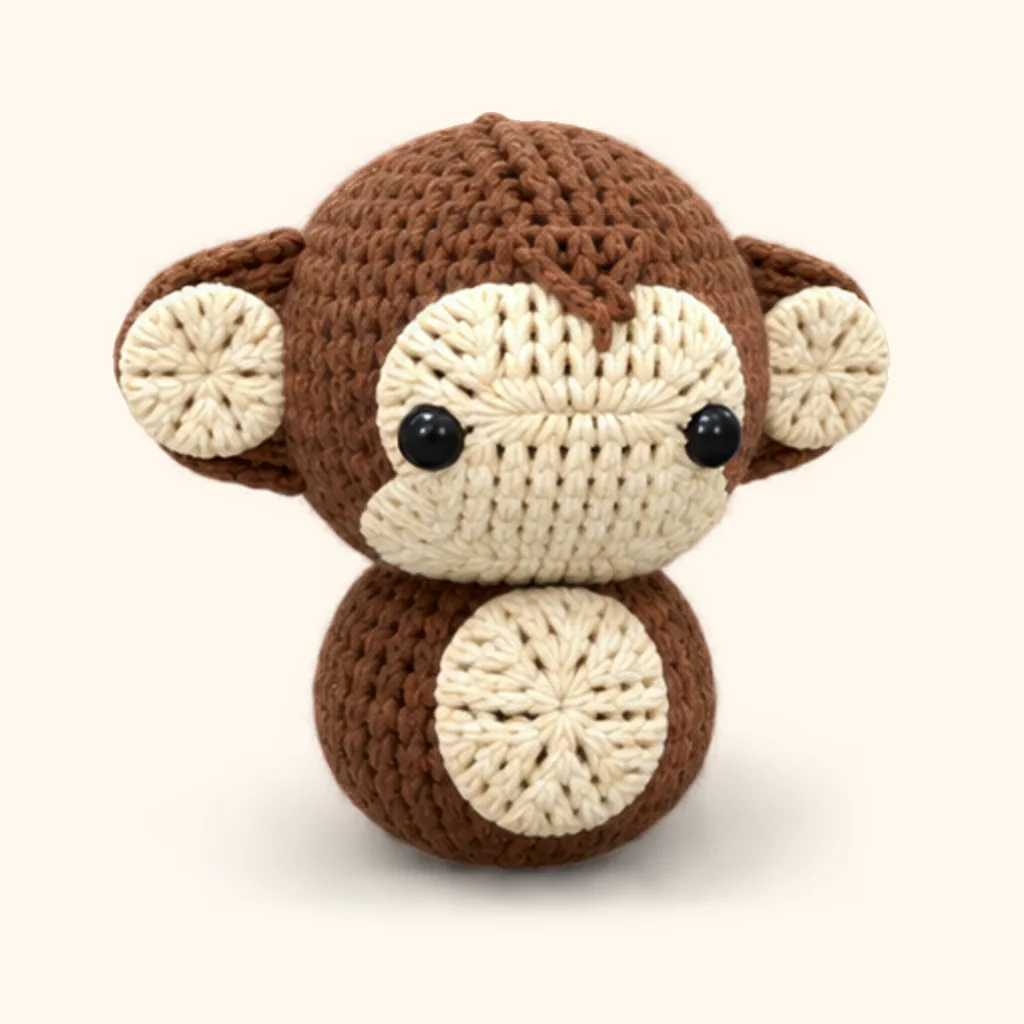
4. Attach the belly patch
At round 12, put it on the front of the body, in the middle. Lay the flat belly patch flat on the body, with its long side going up, then sew around its edge using the long tail, catching the body underneath each stitch. It'll curve to follow the body, that's just what you want.
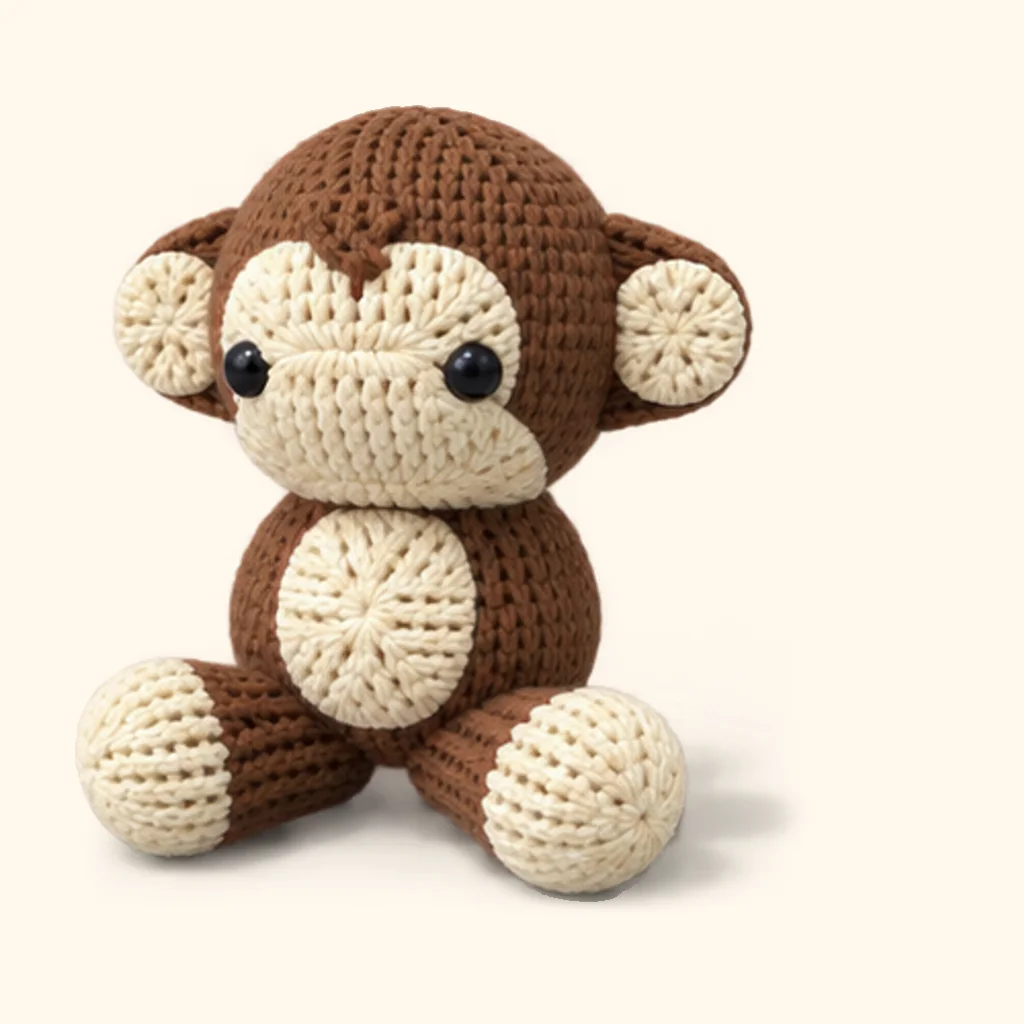
5. Attach the legs
At round 4, put the first one on the body, one on each side of the front. Pin it all round with the open edge held flat against the body. With the long tail, sew all the way around the edge: under one stitch of the leg, then under the body right beside it. Just before the gap closes, add a last bit of stuffing. It should end up pointing down, lying along it. Then, mirrored, do the same for the other one on the other side.
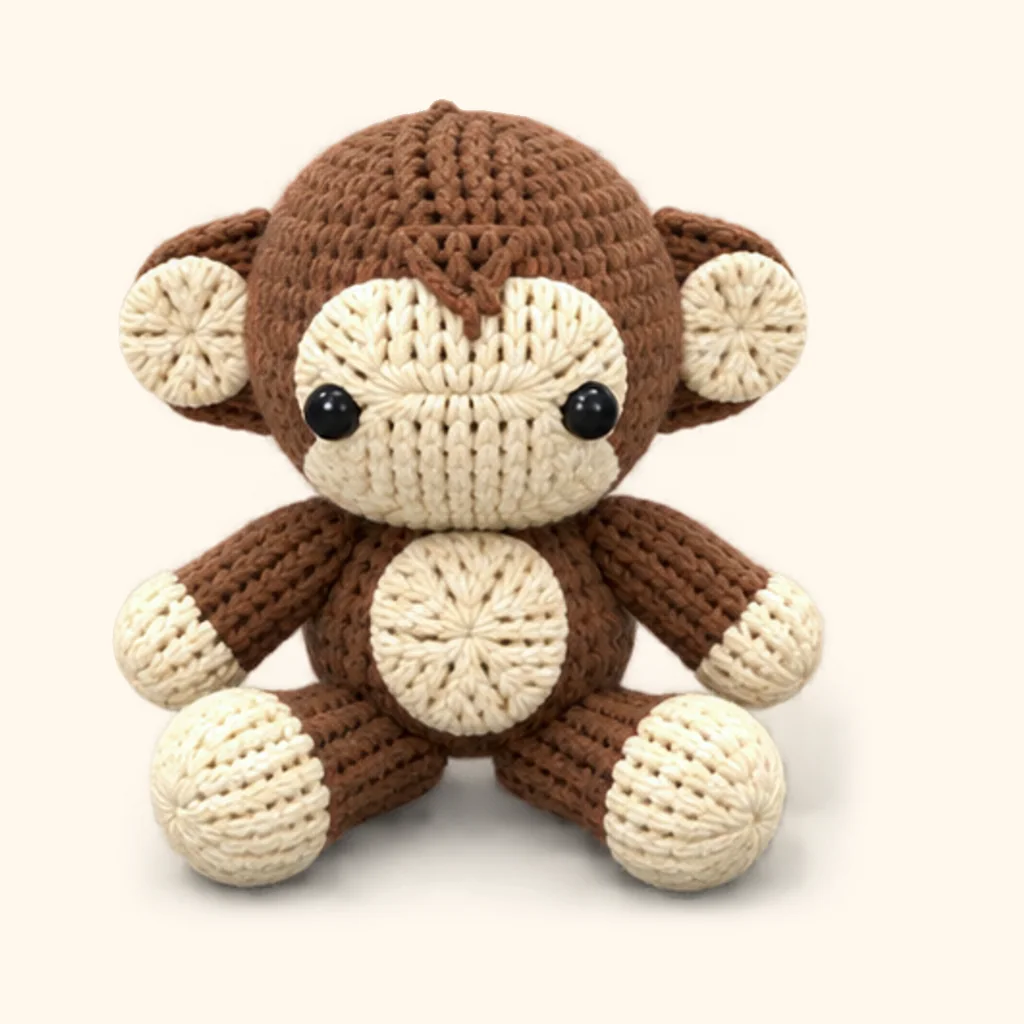
6. Attach the arms
At round 16, put the first one on the body, one on each side. Keep the straight seam against the body, then sew back and forth along it through both pieces. It should end up sitting along it, pointing down. Next, do the same with the other one on the other side, mirrored.
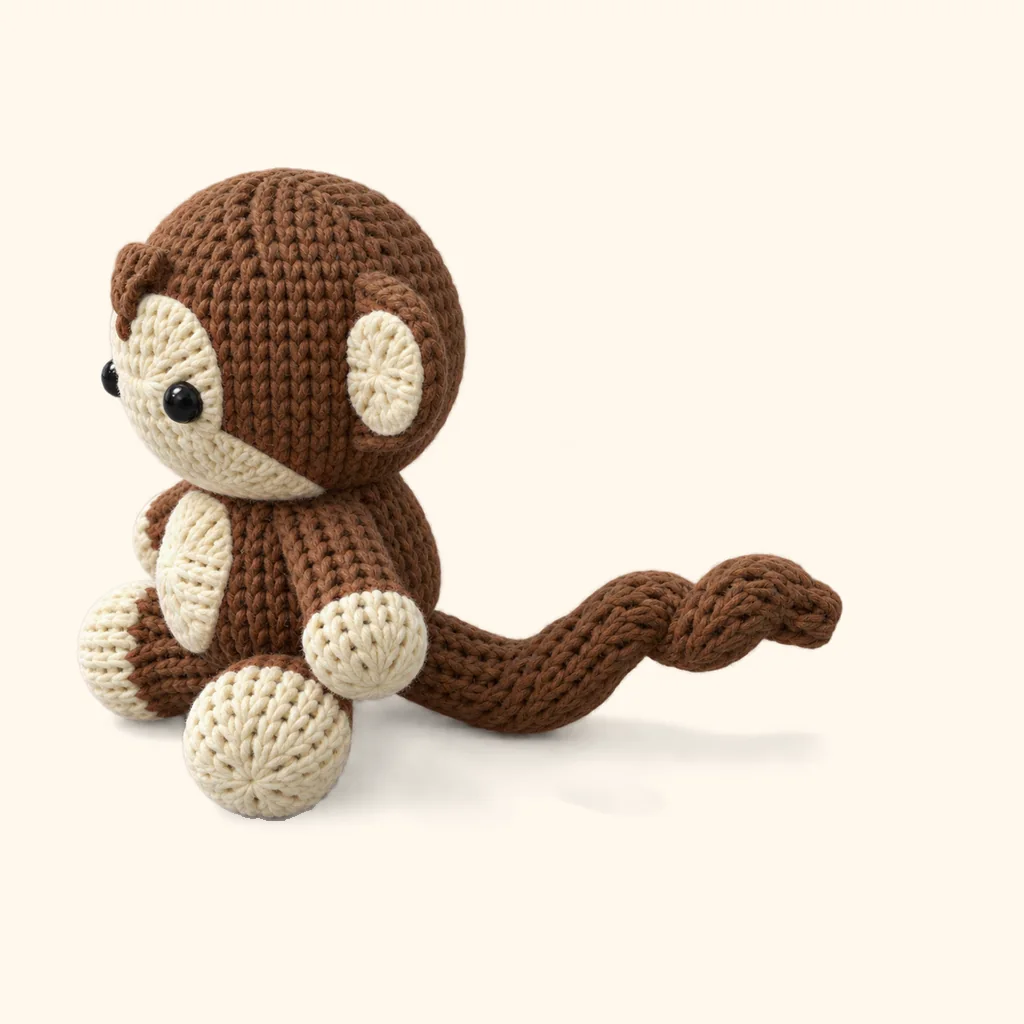
7. Attach the tail
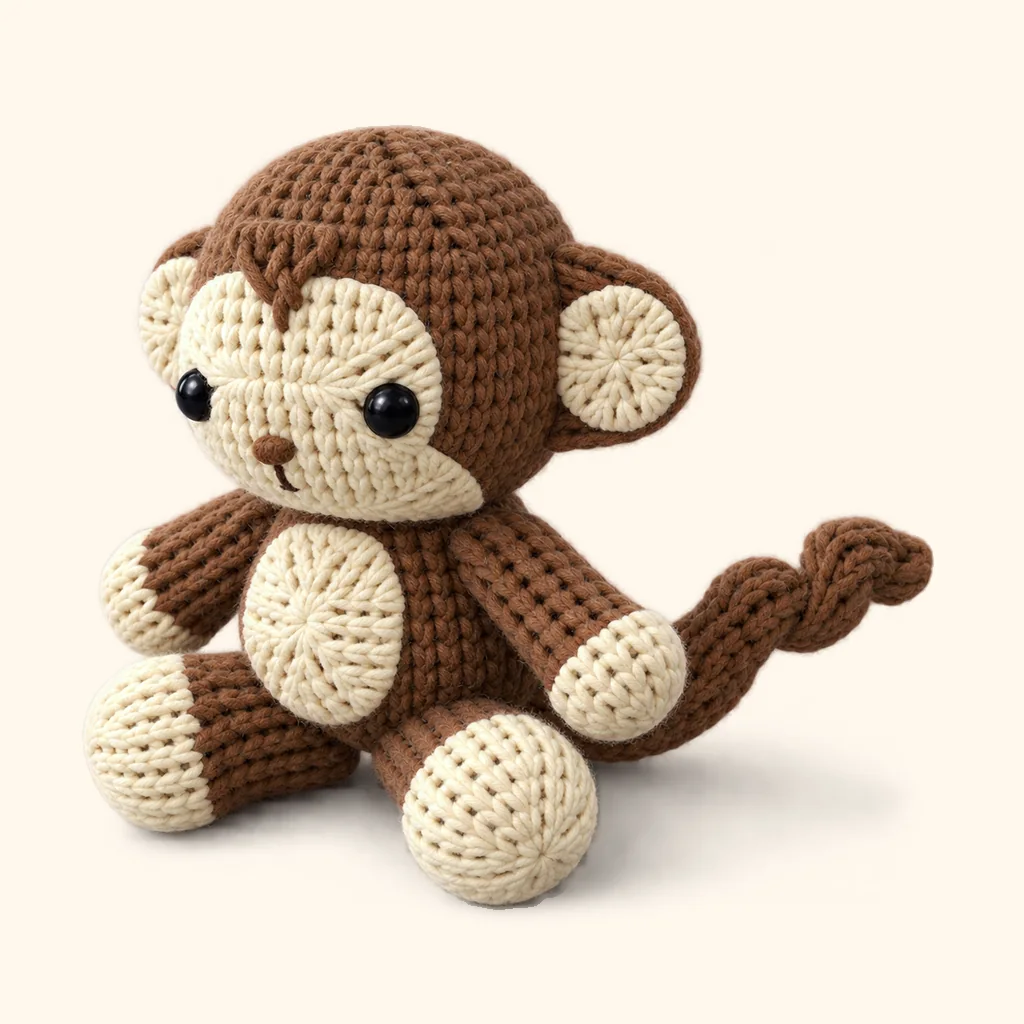
At round 6, put it on the body, at the back, just a bit to the toy's left. Take the tail's starting end (the spot with the magic ring) and press it to the body, then stitch around where they meet, back and forth, and after that tug the yarn tight so no gap shows. It ought to point out and up when you're done, around 30 degrees from straight out.
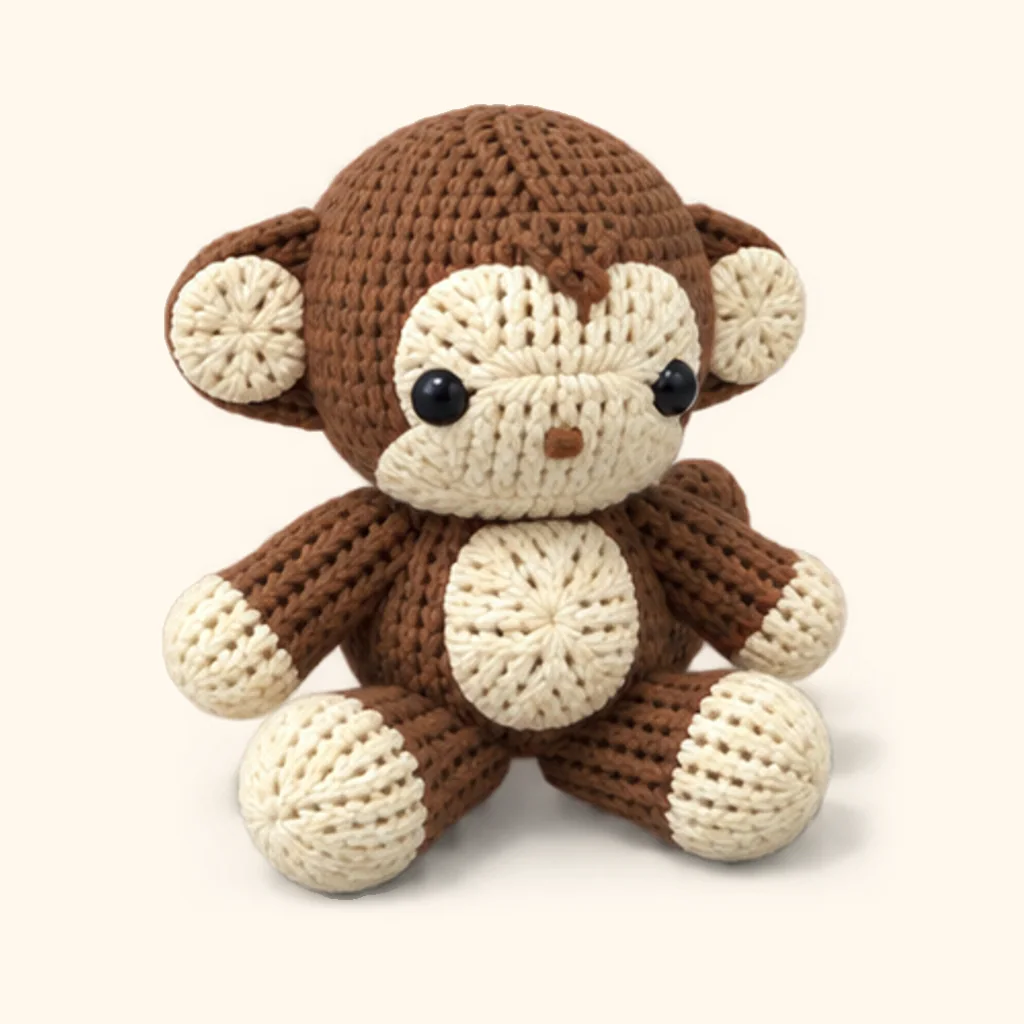
8. Sew the nose
With brown yarn on the muzzle patch, around round 3, on the circle. How: make 4 or 5 stitches on top of each other over the same 2 stitches until it looks nice and plump.
9. Sew the mouth
With dark chocolate yarn on the muzzle patch, around round 1, on the circle. How: come up at one corner, go down 3 stitches along, then catch the middle of that long stitch and pull it down one round to make a curve.
10. Hide the tails
For every loose tail: thread it on the needle, poke it into the toy and out somewhere else, give it a little tug, and snip it close. The end disappears inside. All done!
All done!
You made it, your own little monkey is done! Give it a big hug and feel proud of each stitch you did.
Finished one? Show it to #crochetpirate. We would love to see it.
Prefer paper?
Get the full pattern as a printable PDF, free when you have a Crochet Pirate account. Just sign in, and your download begins right away.
More patterns like this
- Puppy dog crochet pattern (Intermediate)
- Cow crochet pattern (Intermediate)
- Dinosaur crochet pattern (Intermediate)
- Orange tabby kitten crochet pattern (Intermediate)
Questions about this pattern
How is the monkey's face made?
The cream face is three flat pieces: an upper face patch, a muzzle patch and a little brown hairline peak at the top. They are sewn onto the head while you make it, just before the safety eyes go in, and the nose and mouth are stitched on the muzzle at the end.
How does the monkey's tail get its curves?
The tail's just one long tube, around 6 in (15 cm). On every other round, you work two increases on one side plus two decreases on the other, and that makes the tube bend a bit each time, so it curves out as you go. Stuff it firmly, then sew it on low at the back using its starting end.
How are the ears made?
Every ear is a little brown cup, flattened into two layers, then crocheted closed with a straight seam. A cream inner ear gets sewn on the front. At round 14, stitch the ears to the sides of the head along that seam.
How big is the finished monkey?
In DK (light worsted) yarn, with a 3.5 mm (US E-4) hook, the monkey ends up around 7 in (17 cm) tall. If you use a thicker yarn and a bigger hook, you get a bigger toy; the rounds don't change.
What yarn and hook do I need?
With a 3.5 mm (US E-4) hook and DK (light worsted) cotton, you'll use 3 colors: brown, cream, and dark chocolate. If you move up or down a hook size to keep your stitches tight, any yarn works.
Is this pattern good for beginners?
It's labeled Intermediate: you'll be fine if you've already made a toy or two. Each round still lists its stitch count, and the checkpoints let you see how every piece should look.
Can I sell what I make?
Sure, you can sell the toys you make using this pattern, and it's nice if you give a shout-out to Crochet Pirate. But please don't share or sell the pattern itself, just send folks to this page instead.
Copyright 2026 Crochet Pirate. This pattern is free for personal use.