Almost every amigurumi piece starts with a magic ring, also called a magic circle or an adjustable ring. You work the first round into a loose loop of yarn, then pull the tail and the loop closes tight. That leaves no hole in the middle, which matters once the piece is stuffed.
What you need
- The yarn you need, plus the hook the pattern calls for.
- A stitch marker, to mark the first stitch of each round
How to make a magic ring
1. Make a loop
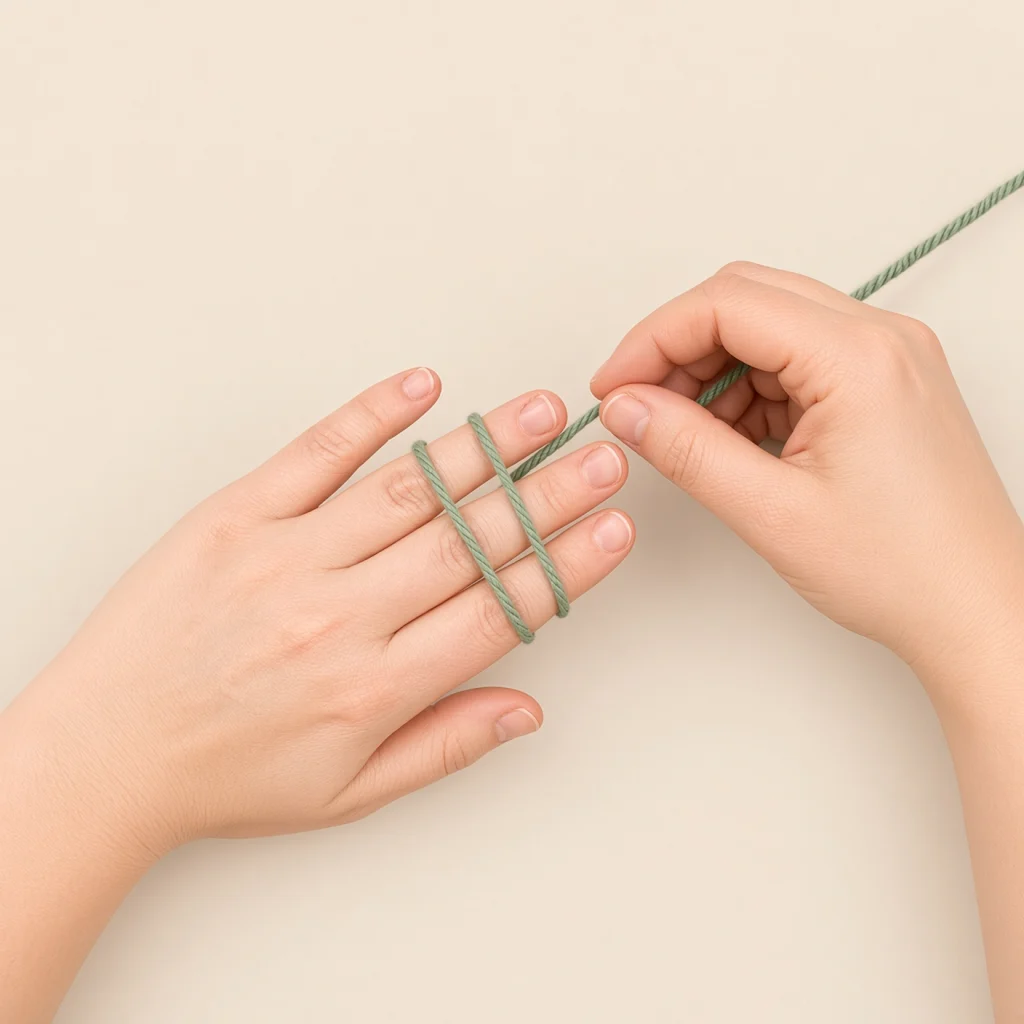
Loop the yarn over a couple of fingers, bringing the tail across the working yarn to form a loop. The end that leads to the ball is the working yarn.
2. Pull up the working yarn
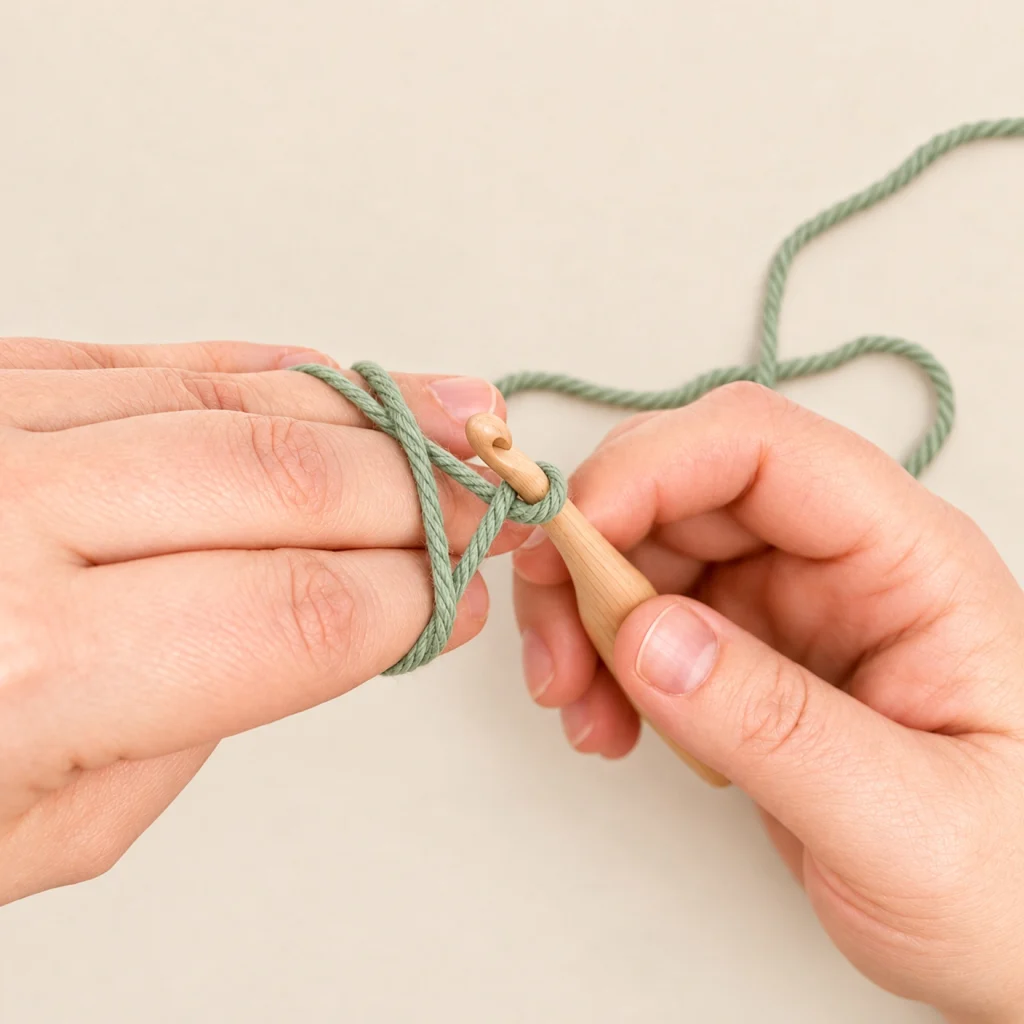
Slide your hook beneath the loop, grab the working yarn, and draw it back through.
3. Lock it with a chain
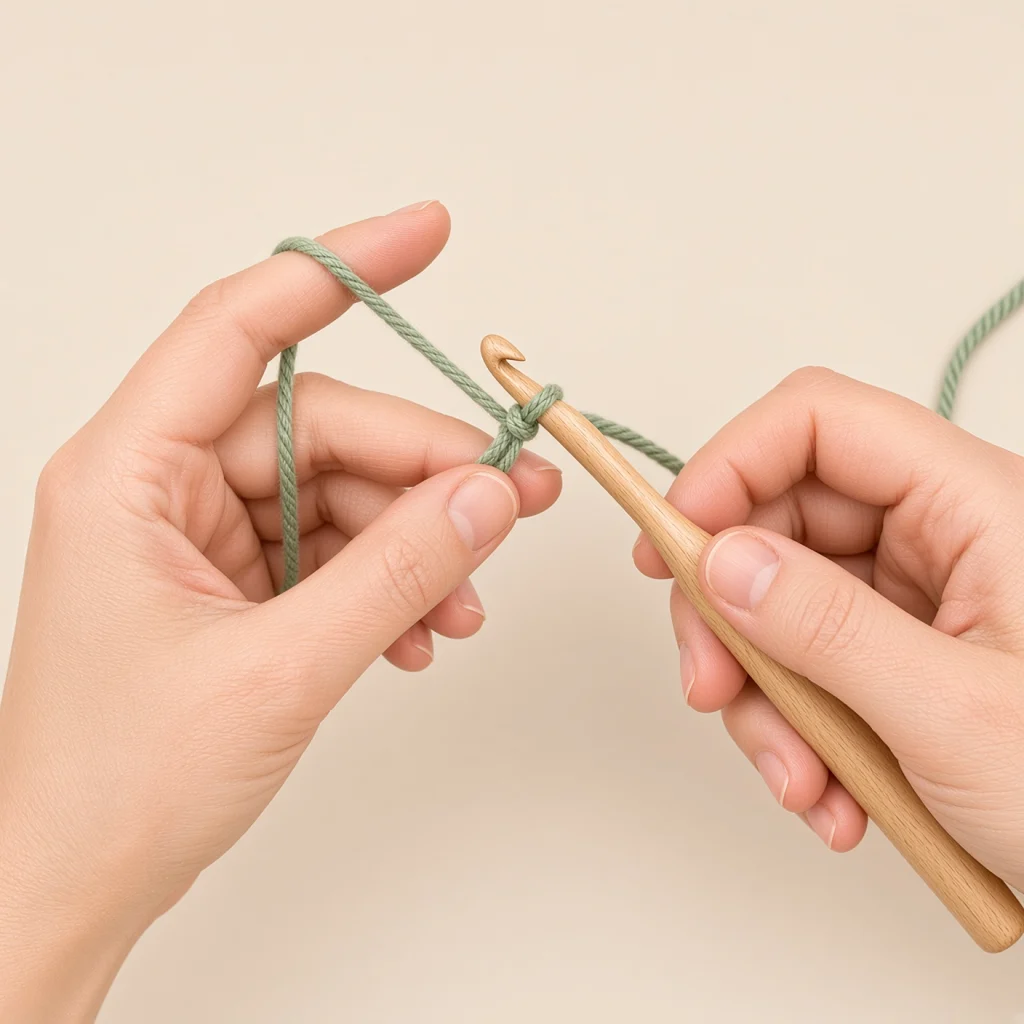
Wrap the yarn over, then pull it through the loop that's on your hook. That chain keeps the ring tight. It isn't counted as a stitch.
4. Crochet into the ring, then close it
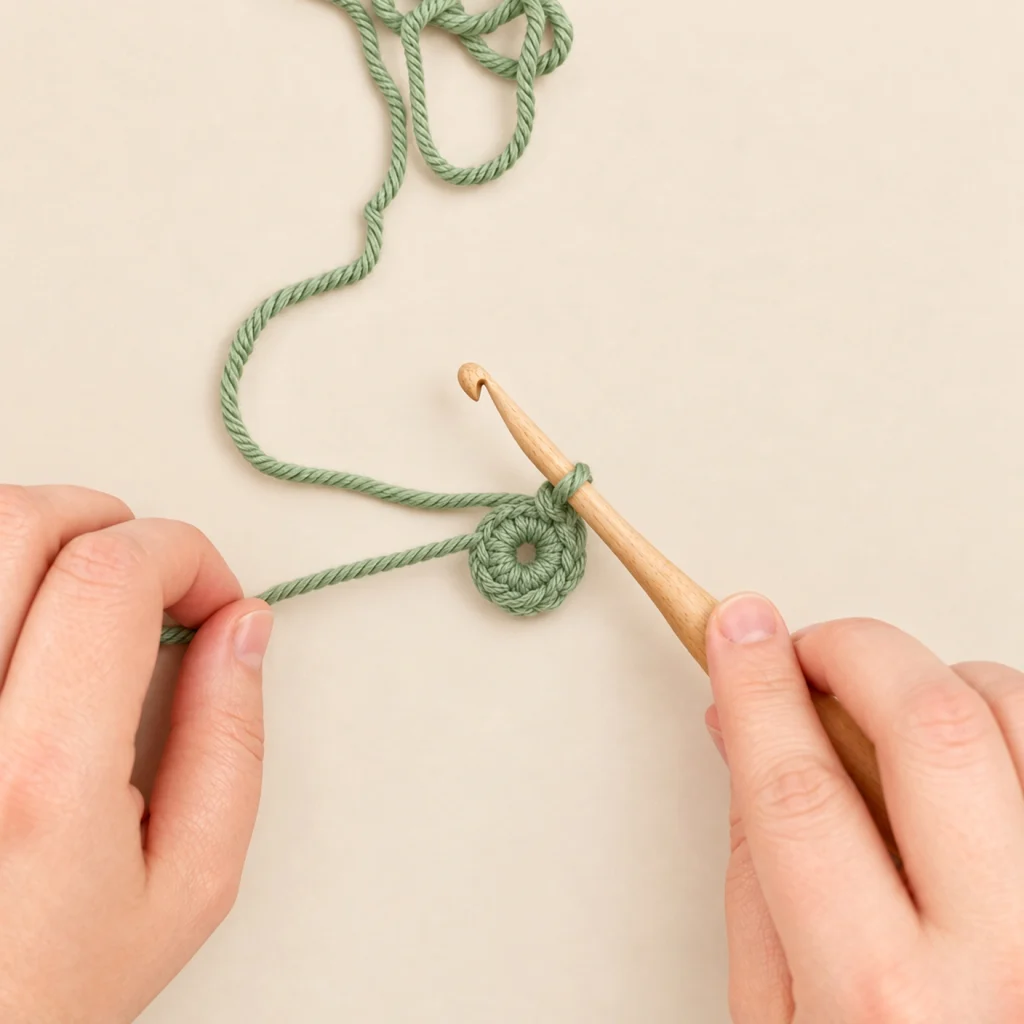
Work your first round into the ring, usually 6 single crochet, going around both strands of the loop. Then pull the tail: the ring closes like a drawstring bag.
Tips for a ring that stays closed
- Crochet over both strands of the loop. If you catch only one, the ring can't close.
- Tighten the tail before round 2 starts, while it still slides.
- Before stuffing the piece, weave the tail through a few stitches on the inside, so the ring never comes loose.
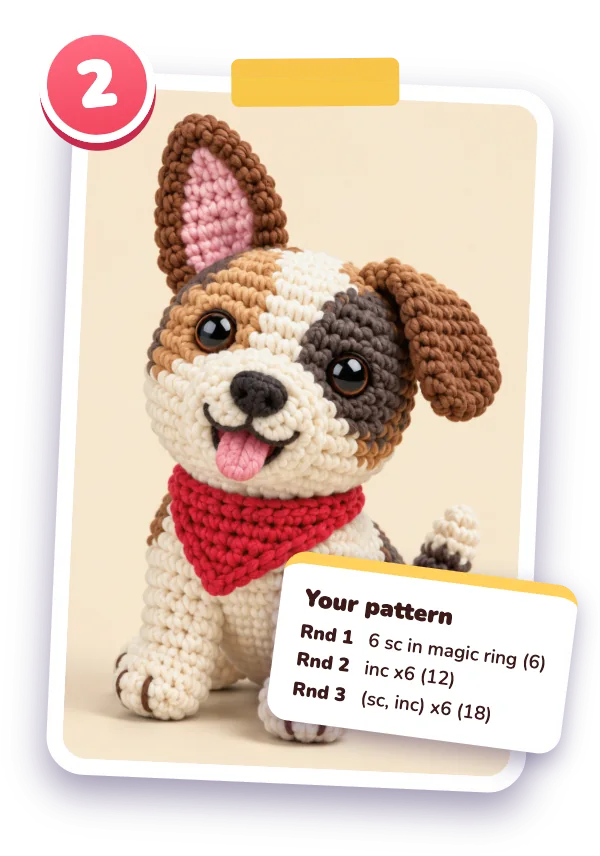
- Count your stitches: the first round is usually 6 single crochet, and the pattern shows it as (6).
It won't close. What went wrong?
Usually, a stitch just went around one part of the loop. Undo that round, check that your hook goes under both strands, then crochet it again. When the ring closes up but later pops open, that means the tail wasn't woven in: put it on a yarn needle and run it through a few stitches inside the piece.
Magic ring or chain 2?
If the ring is tricky, chain 2, then work your first round into the second chain from the hook. That's simpler to pick up, but it leaves a tiny hole in the center. For toys, the magic ring is worth learning: it's the tidiest start around.
Try it on a toy
Choose one of our free patterns and use the method, or make your own pattern from a photo of something you like.
Good patterns to practice it on:
- Frog crochet pattern (Easy)
- Positive potato crochet pattern (Easy)
- Kawaii ghost crochet pattern (Easy)
- Duck crochet pattern (Easy)