Most amigurumi get crocheted as separate pieces, then sewn up at the end. How well you sew them on is what makes a toy look finished, or makes it wobble. You just need the long tail you left on each piece, plus a yarn needle.
How to sew a piece on
1. Pin it first
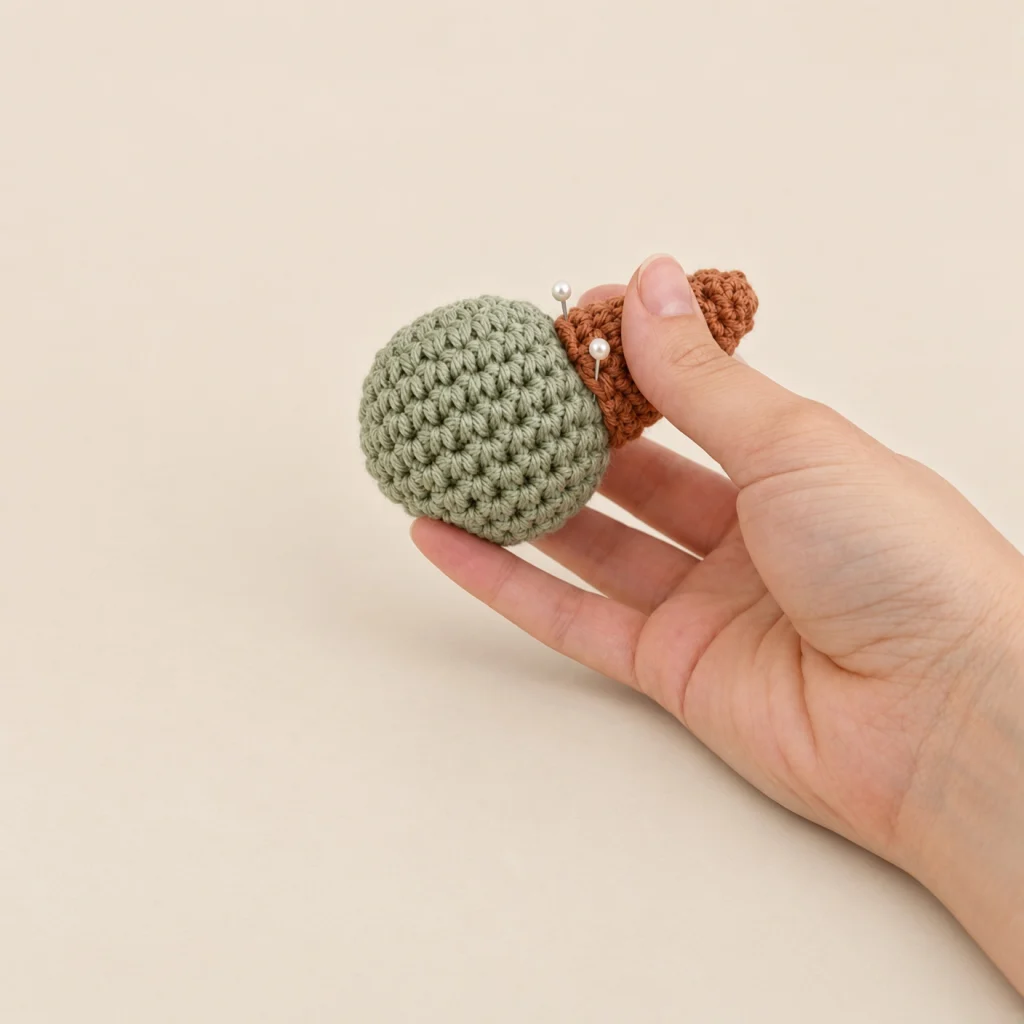
Pin the piece where the pattern says and look at the toy from the front, from a distance. Moving it now is easy.
2. Go under the edge, then the body
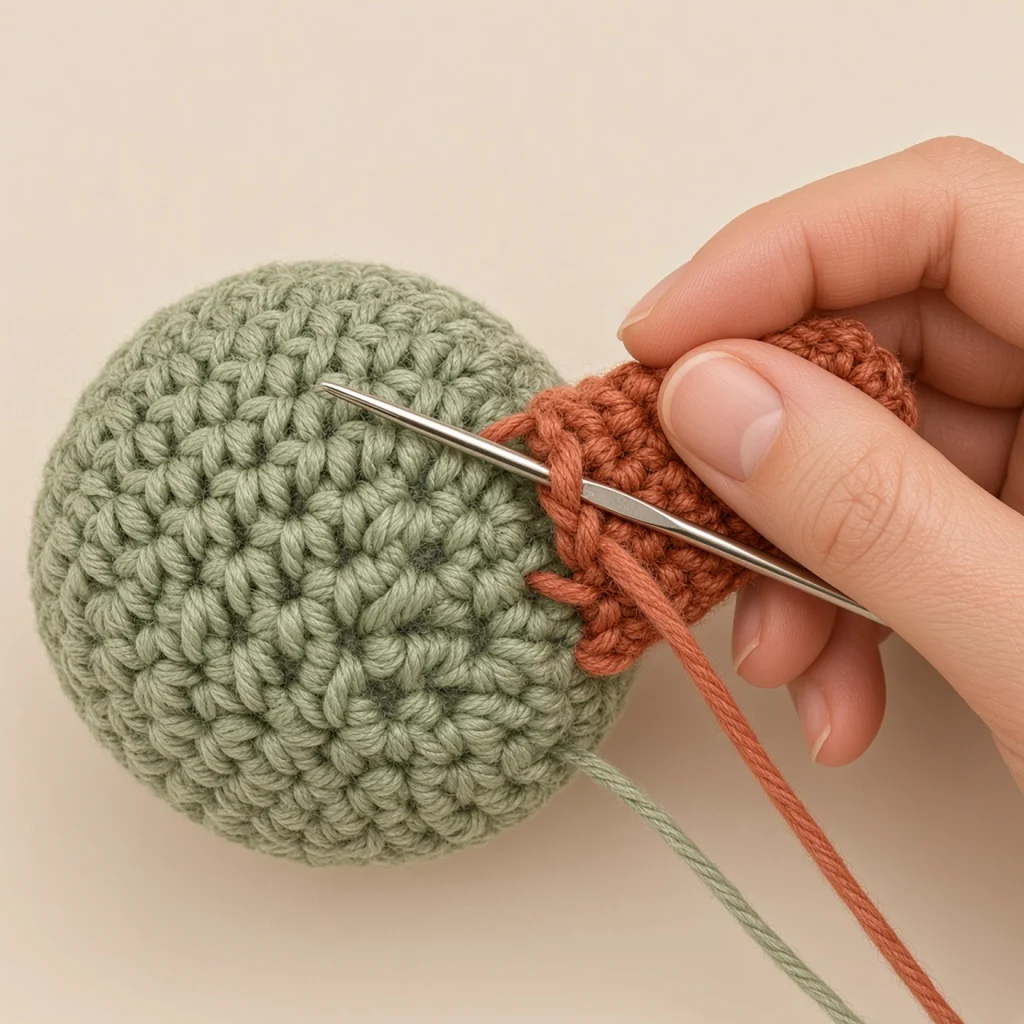
Thread the long tail onto a yarn needle. Then, slide it under a single stitch along the piece's edge, and right after that, under the body next to it.
3. Pull snug and go around
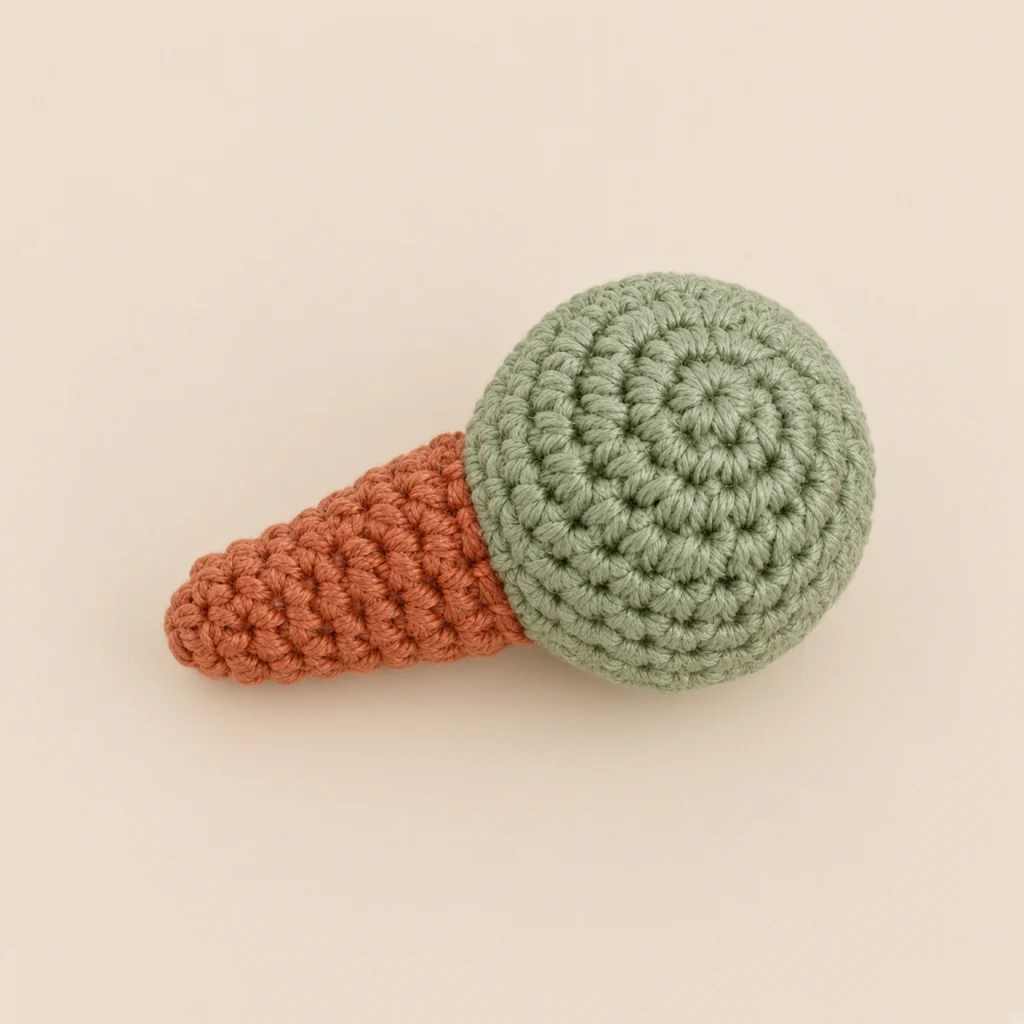
Give the yarn a firm tug until that stitch is gone, then do the same thing all the way around. No holes.
Open pieces and flat pieces
- Open pieces (a head on a body, a foot, a snout): stitch around the whole open edge. Put in a final bit of stuffing right before the gap shuts.
- Flat or closed pieces (arms, ears, wings): sew along the edge that touches the body only, back and forth, so the piece stays firm.
Close the last hole and hide the tail
1. Through the front loops
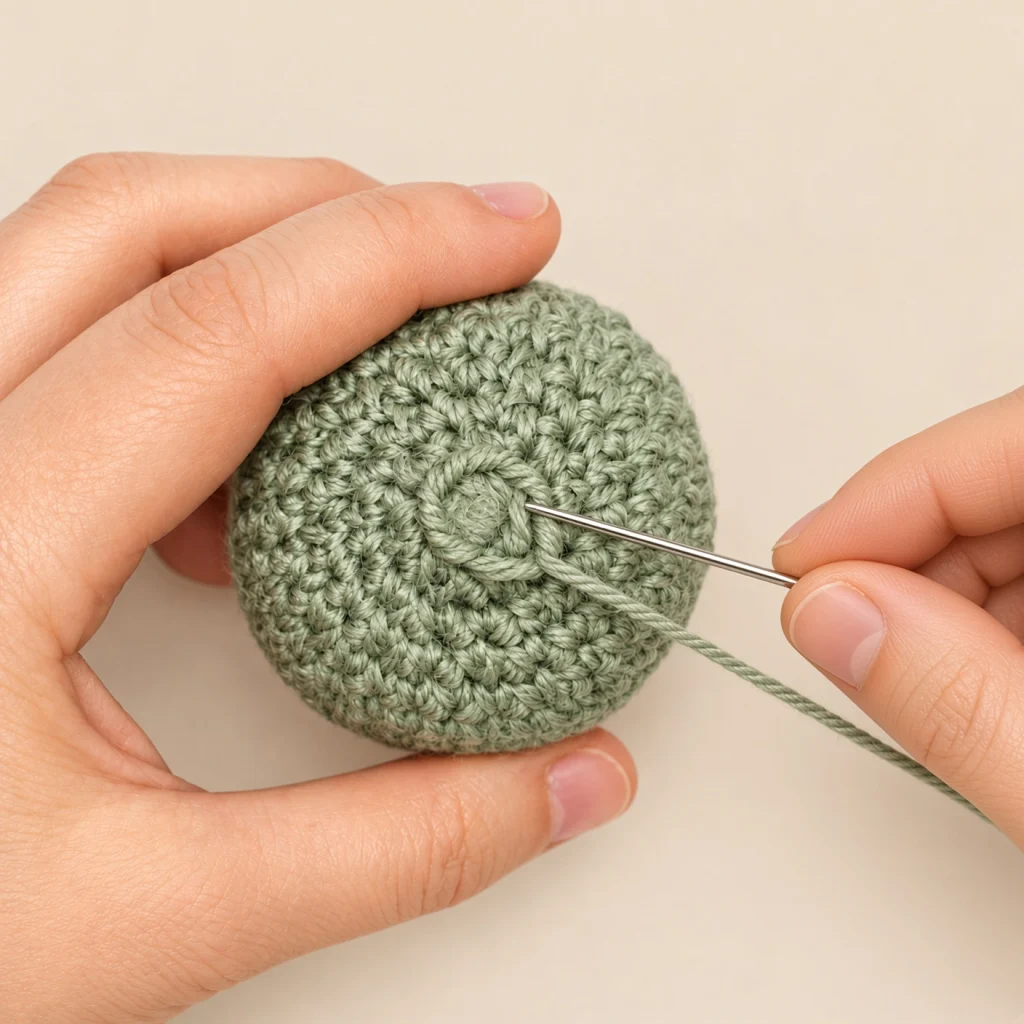
To finish off a stuffed piece, bring the tail through the front loop of every one of the last stitches.
2. Pull it shut
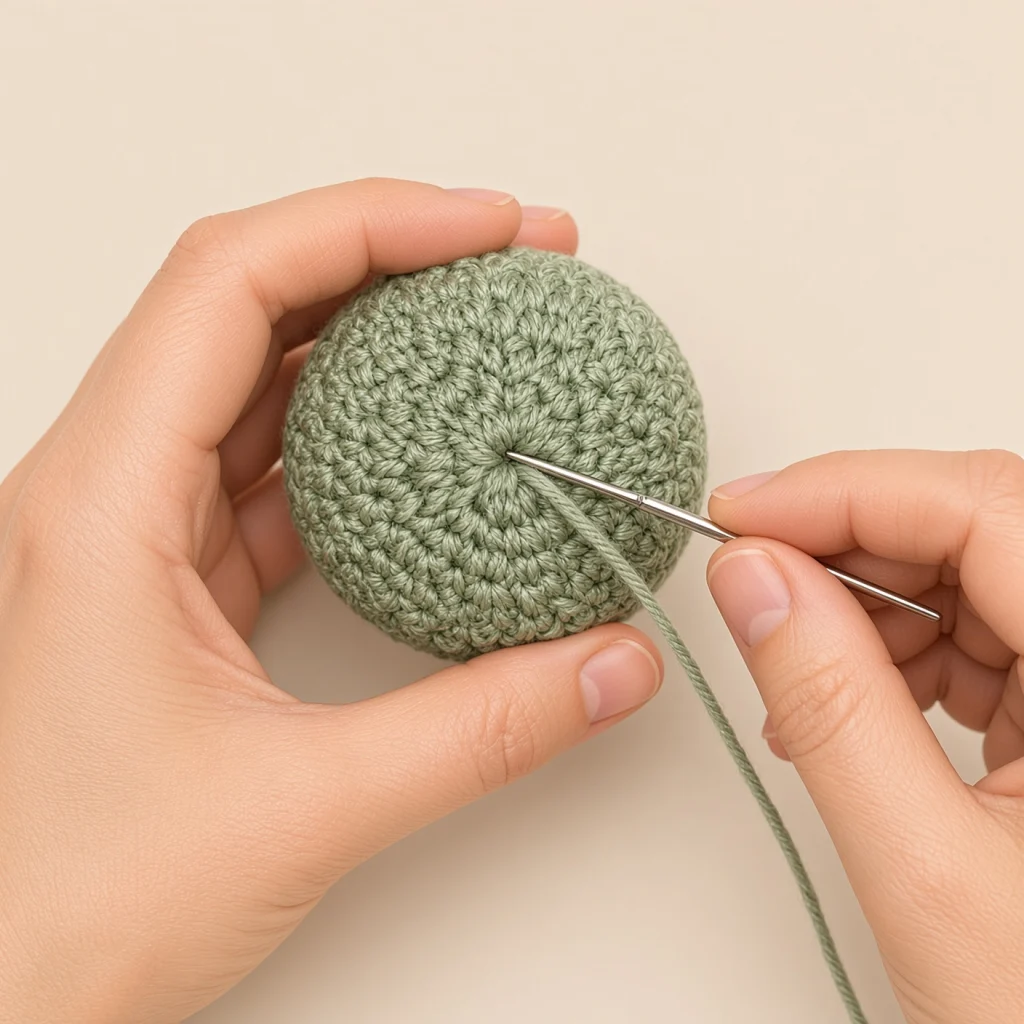
Give it a firm tug, and that hole shuts just like a drawstring bag.
3. Hide the tail
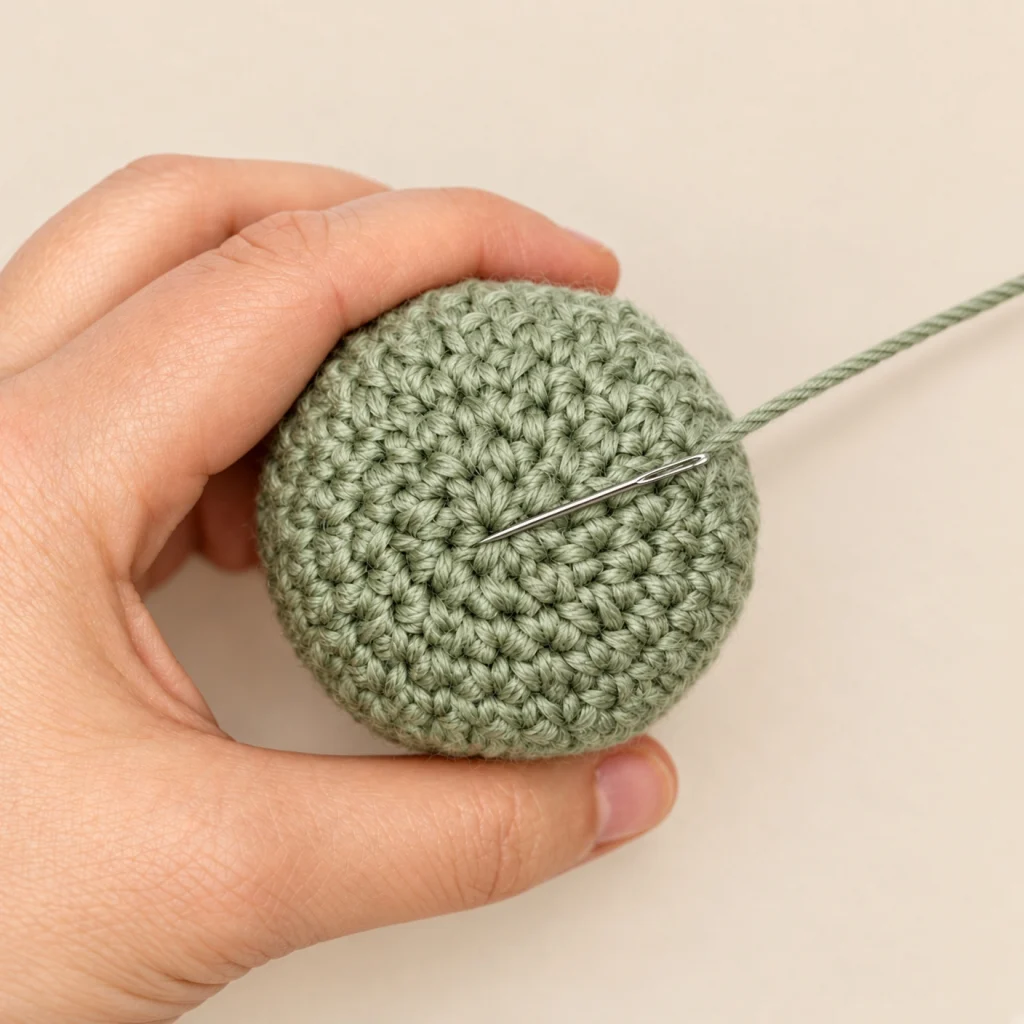
Stick your needle into the toy, bring it out at another spot, give a small pull, then snip the yarn near the toy. The tail goes inside.
Tips
- Sew with the same color as the piece, so the stitches hide.
- For mirror pairs, attach the other ear or arm on the opposite side, in that same round.
- If a piece wobbles, what it needs is extra stitches along the edge, not tighter ones.
Try it on a toy
Choose one of our free patterns and use the method, or make your own pattern from a photo of something you like.
Good patterns to practice it on:
- Dinosaur crochet pattern (Intermediate)
- Fox crochet pattern (Intermediate)
- Highland cow crochet pattern (Advanced)
- Dragon crochet pattern (Advanced)