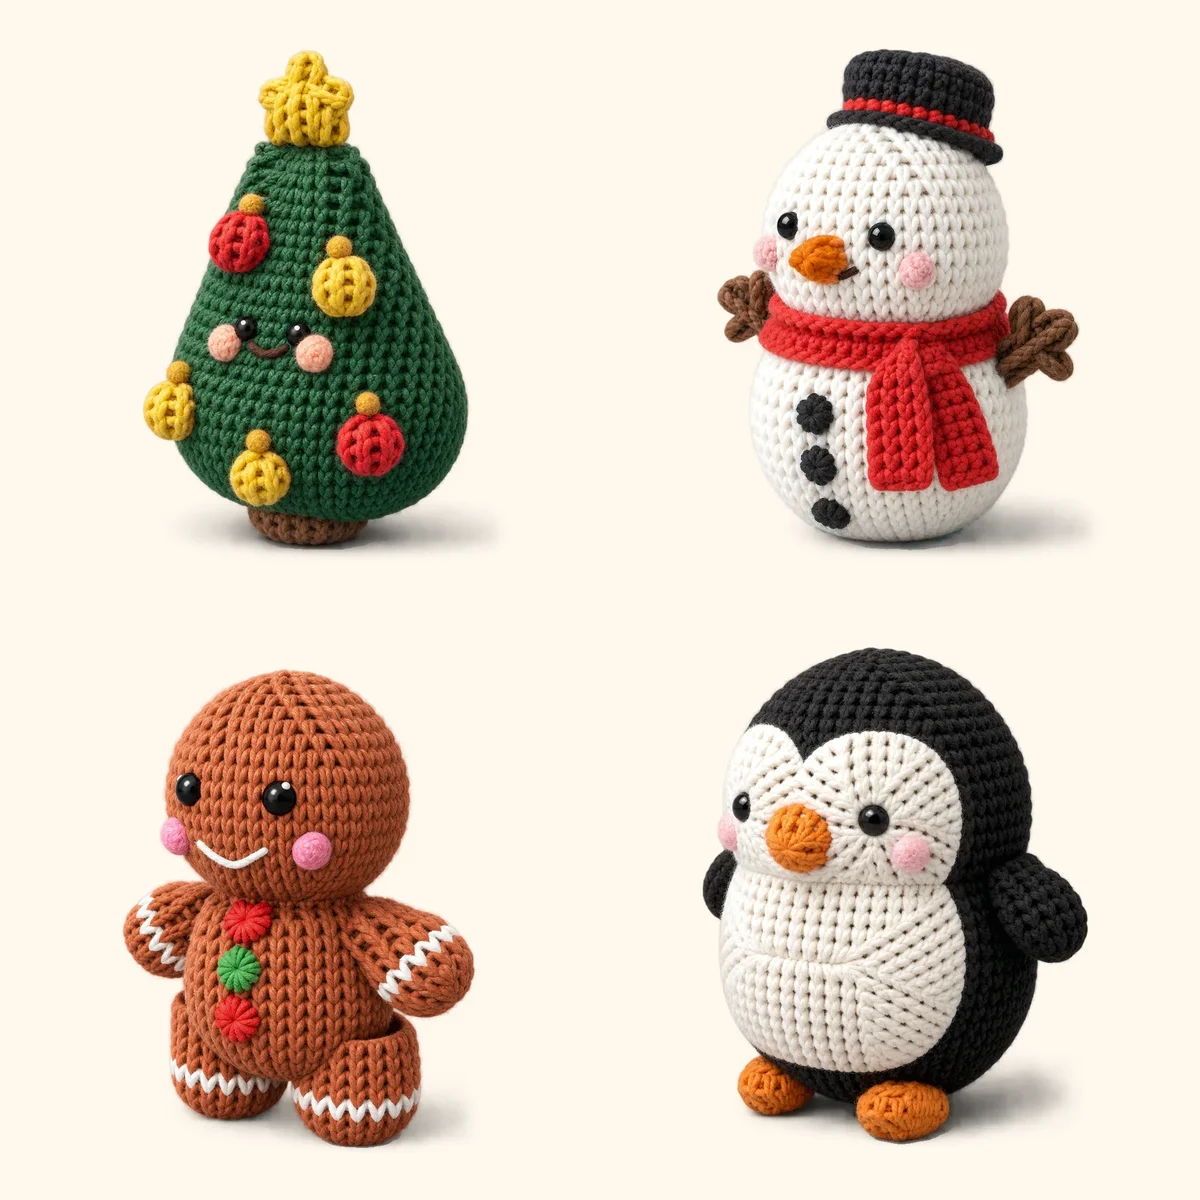
Stripes, a bee's bands, or a different color for the head: amigurumi switches colors all the time. The trick is to join the new color at the end of the last stitch of the old one, so the new color begins cleanly.
How to change colors
1. Stop with 2 loops on the hook
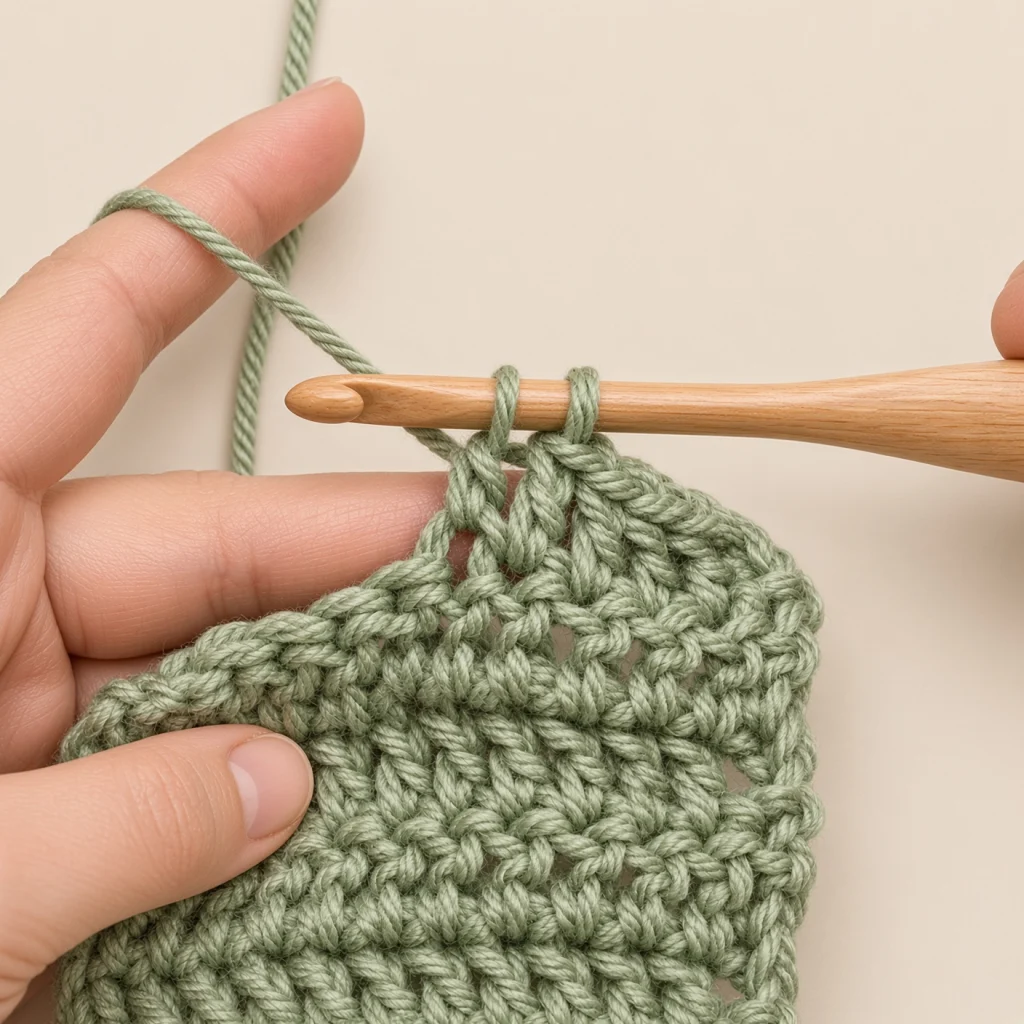
Before you start the new color, on that last stitch, put your hook in, yarn over, and pull up a loop. Then stop, leaving 2 loops of the old color on your hook.
2. Yarn over with the new color
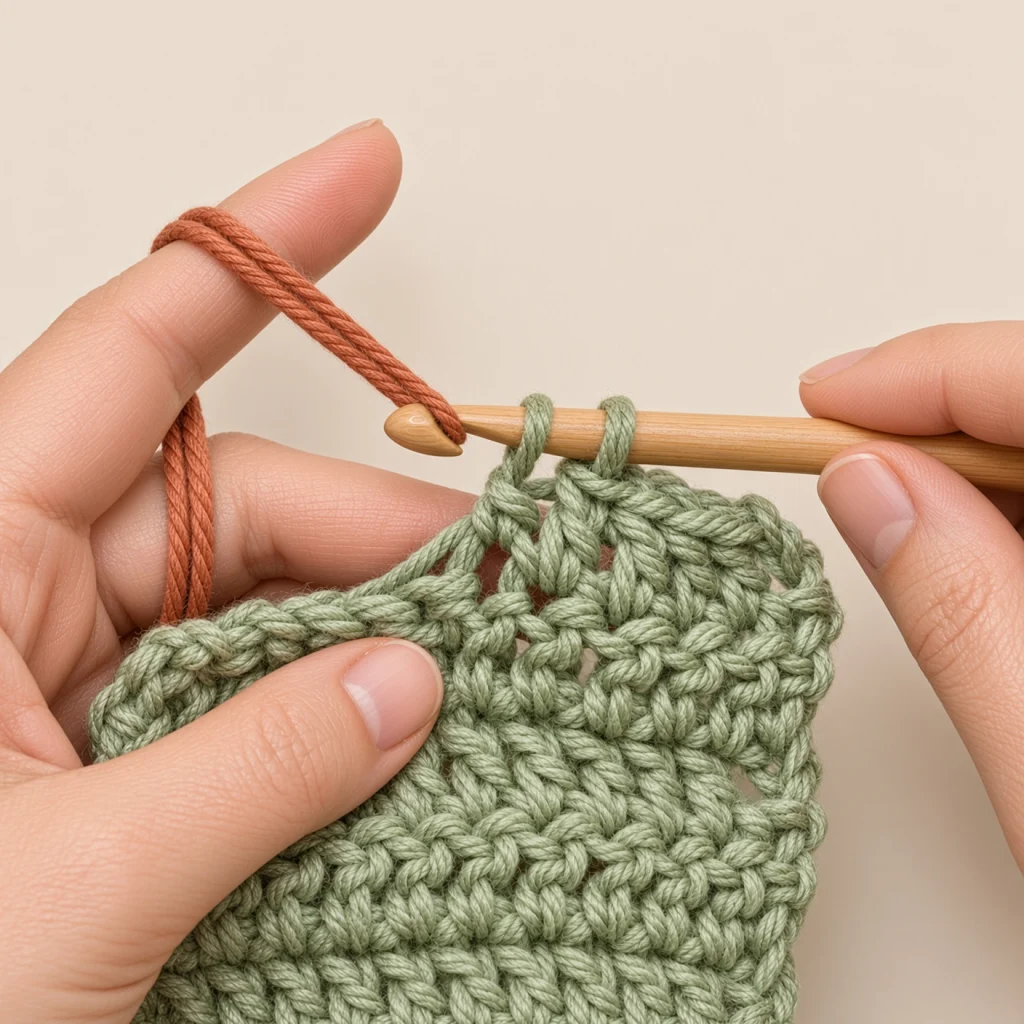
Let go of the first color. Then keep a tail from the new shade and yarn over using it.
3. Pull it through both loops
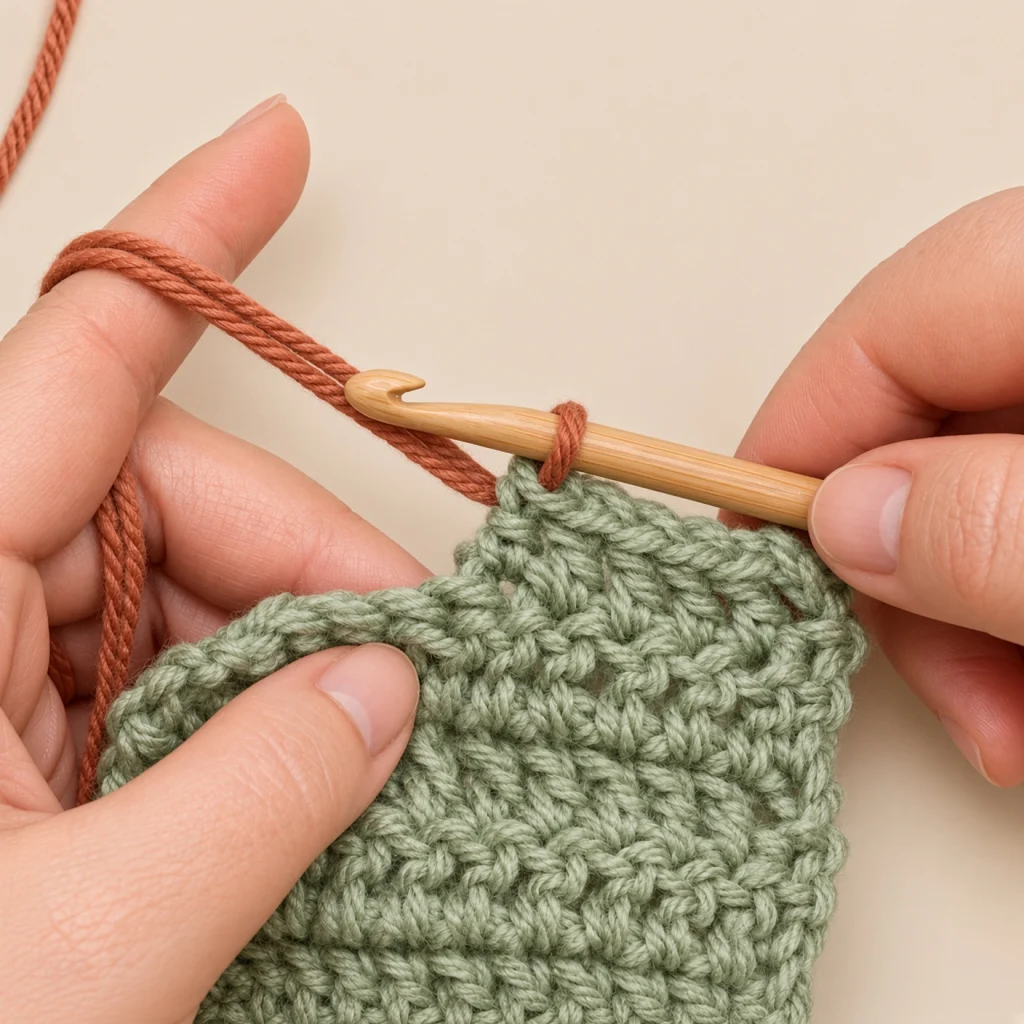
Draw the new color through the two loops. That stitch is done, and the loop on your hook is now the new color, set for the first stitch in it.
4. Tie the tails loosely
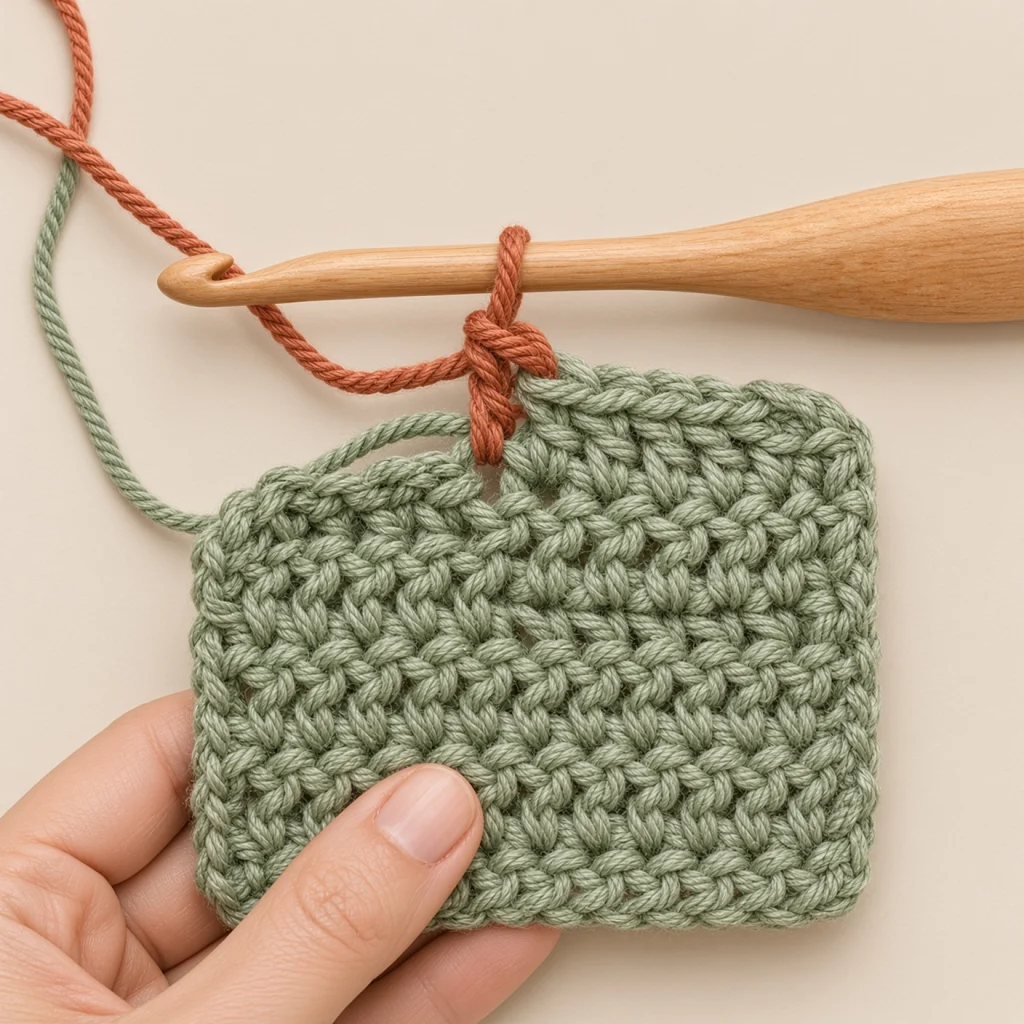
Knot the old color's tail and the new color's tail together loosely. If it's a toy, leave that knot and the ends tucked inside the piece, then keep going with the new color.
For a seamless color change
- Change where the pattern says. Patterns name the round: "on the last stitch of round 17, change to yellow".
- Keep the jog at the back. Rounds in a spiral make a small step where each one starts. Put that side at the back of the toy.
- Don't cut the old color for short stripes. Carry it loosely up the inside until you need it again.
- Tie, don't knot tight. To stop the tails from coming loose, just tie a loose knot, and weave them in after.
Our bumblebee has stripes that switch colors four times: a nice pattern to practice with.
Try it on a toy
Choose one of our free patterns and use the method, or make your own pattern from a photo of something you like.
Good patterns to practice it on:
- Bumblebee crochet pattern (Advanced)
- Cow crochet pattern (Intermediate)
- Fox crochet pattern (Intermediate)
- Orange tabby kitten crochet pattern (Intermediate)