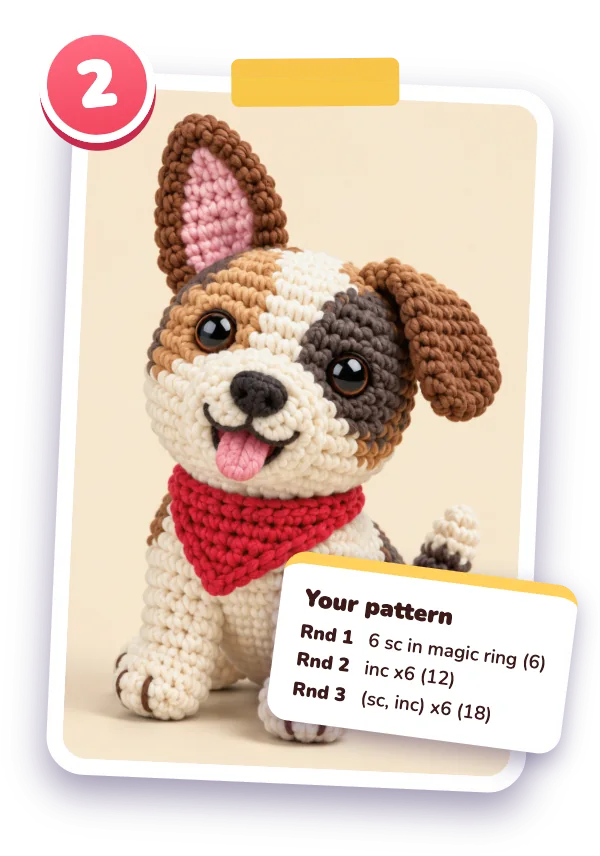
Amigurumi patterns seem like code when you first look at one: Rnd 3: (sc, inc) x6 (18). But once you learn the few rules behind them, each pattern reads the same. Here they are.
1. Amigurumi is worked in rounds, in a spiral
Most items begin with a magic ring, then grow outward in rounds. You don't join every round with a slip stitch like a granny square, instead, you keep working in a spiral. So you'll need a stitch marker: place it in the round's first stitch, and shift it up whenever you come back to it.
2. One line is one round
Rnd 3: (sc, inc) x6 (18) That means for round 3, you do one single crochet in the next stitch, then an increase in the stitch after that, and repeat that six times, finishing with 18 stitches. Rnds 5-9: sc 30 (30) And that one means you crochet five rounds with no changes, just 30 single crochet.
3. Brackets repeat, the last number counts
- ( ) x6: work what's inside the brackets 6 times.
- When the round is finished, you should have these stitches: (18).
Count at the end of each round, at least until you trust your rhythm. A dropped stitch is simple to fix right away and hard to spot five rounds later.
4. Increases grow, decreases close
An increase (inc) means you put 2 single crochet into the same stitch, while a decrease (dec) joins 2 stitches into one. If you space these out evenly all around the round, you get a ball shape: first come increase rounds, then plain rounds, and after that decrease rounds to close it up.
5. Checkpoints tell you you're on track
Our patterns give you checkpoints: how the piece should look, and about how big it should be. Before you stuff, close, or sew it on, compare your piece. At that point, a fix is still simple.
6. Pieces first, then assembly
A toy is built from parts, like a head, a body, arms, and ears, and each one has its own rounds. Crochet all of them, then do the assembly steps: where every part goes and how to sew it on. First pin the pieces in place, and take a look from far away before you sew.
Ready to try?
Have our crochet abbreviations list open in a different tab, then choose a pattern.
Good patterns to practice it on:
- Positive potato crochet pattern (Easy)
- Pineapple crochet pattern (Easy)
- Frog crochet pattern (Easy)
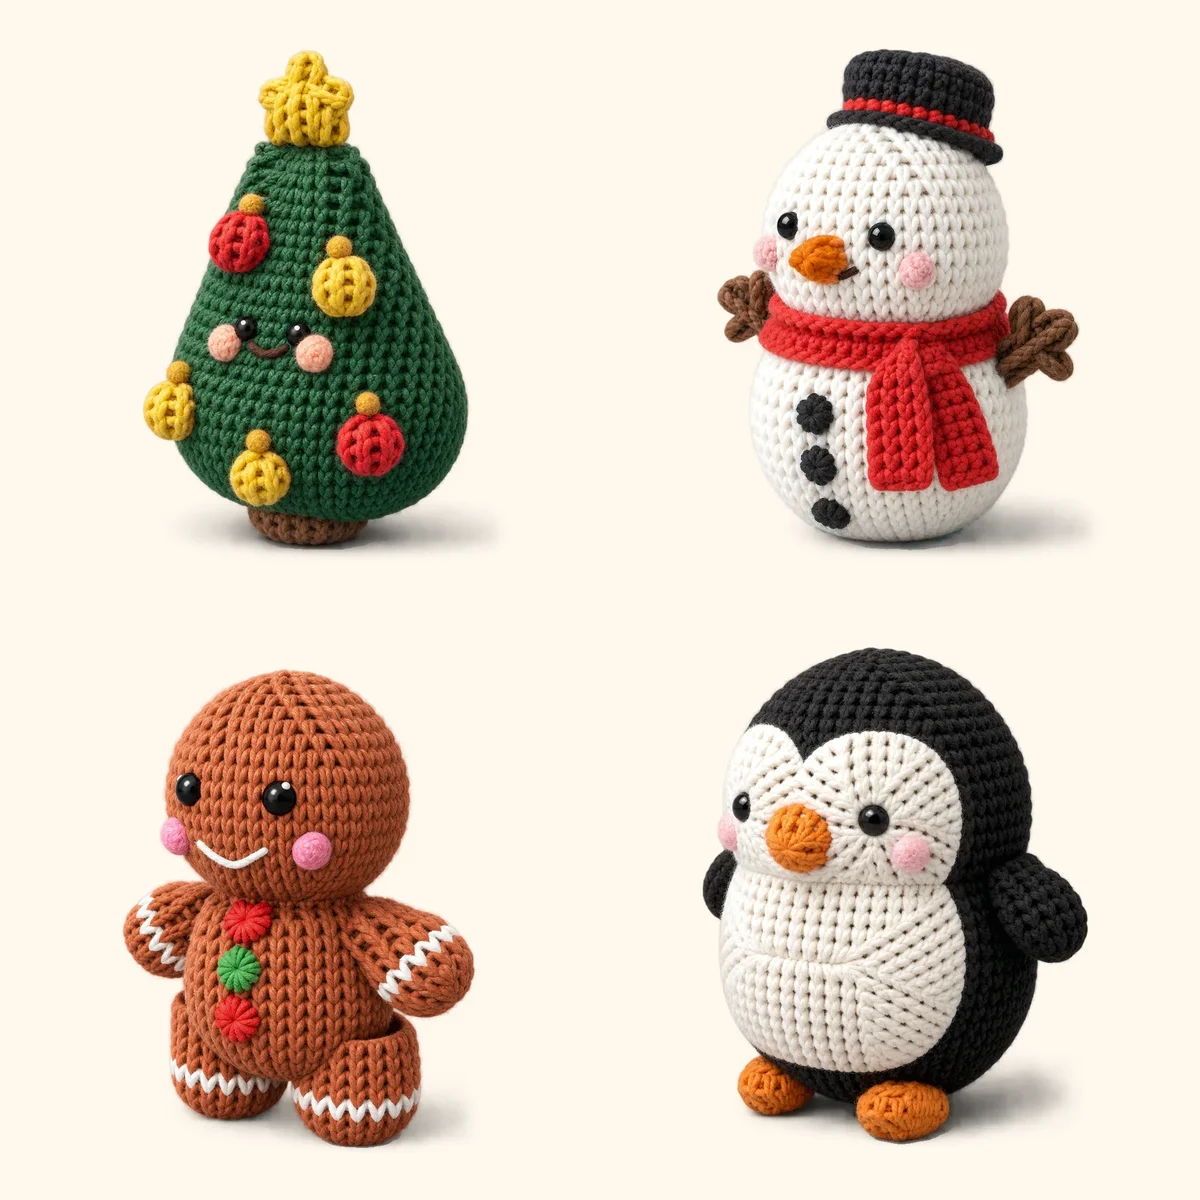
- Snowman crochet pattern (Easy)