When you decrease, you turn two stitches into a single one, which makes the fabric narrower and pulls it closed. The standard method, single crochet two together, tends to leave a small bump. With amigurumi, the invisible decrease works into the front loops only, so the decrease almost vanishes.
How to make an invisible decrease
1. Front loop of the first stitch
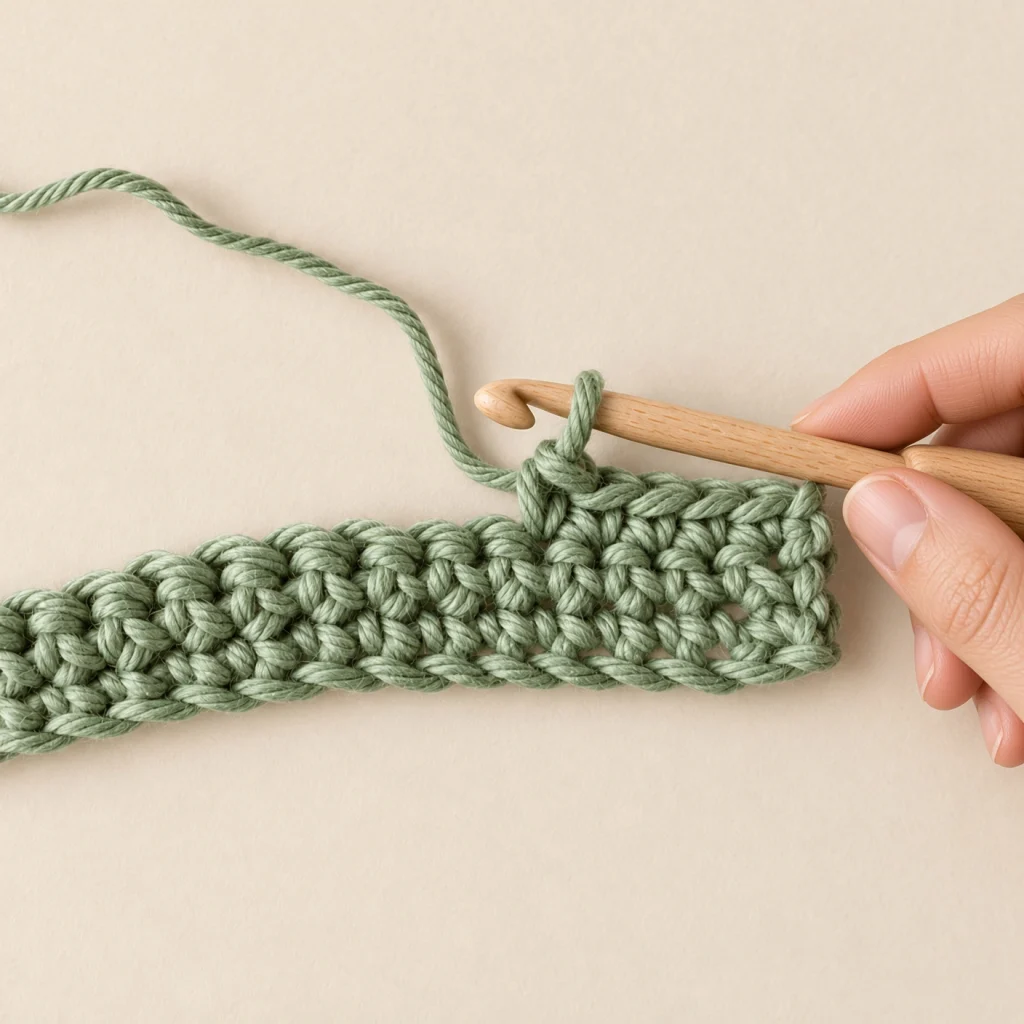
Slide your hook beneath just the front loop of the following stitch.
2. Front loop of the second stitch
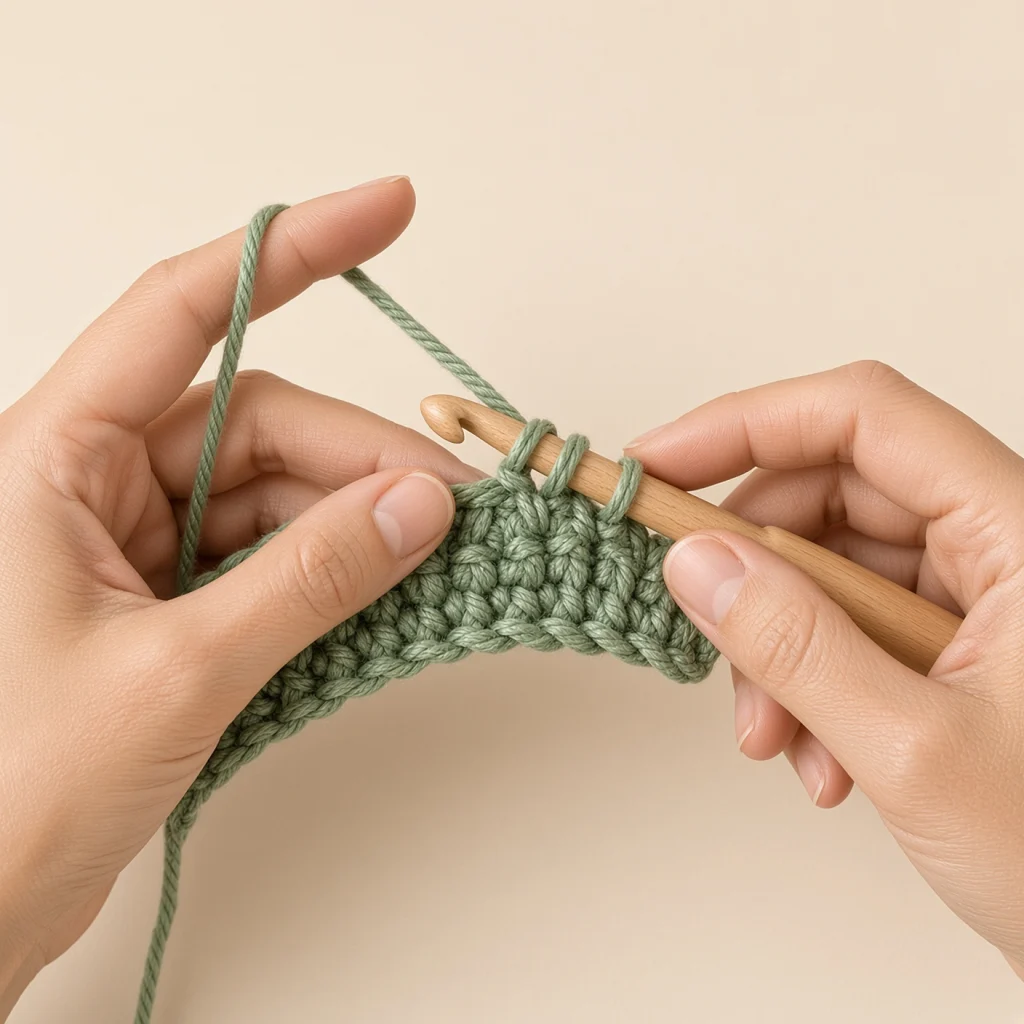
Next, go under the front loop of the following stitch as well. That leaves 3 loops sitting on your hook.
3. Finish it like a single crochet
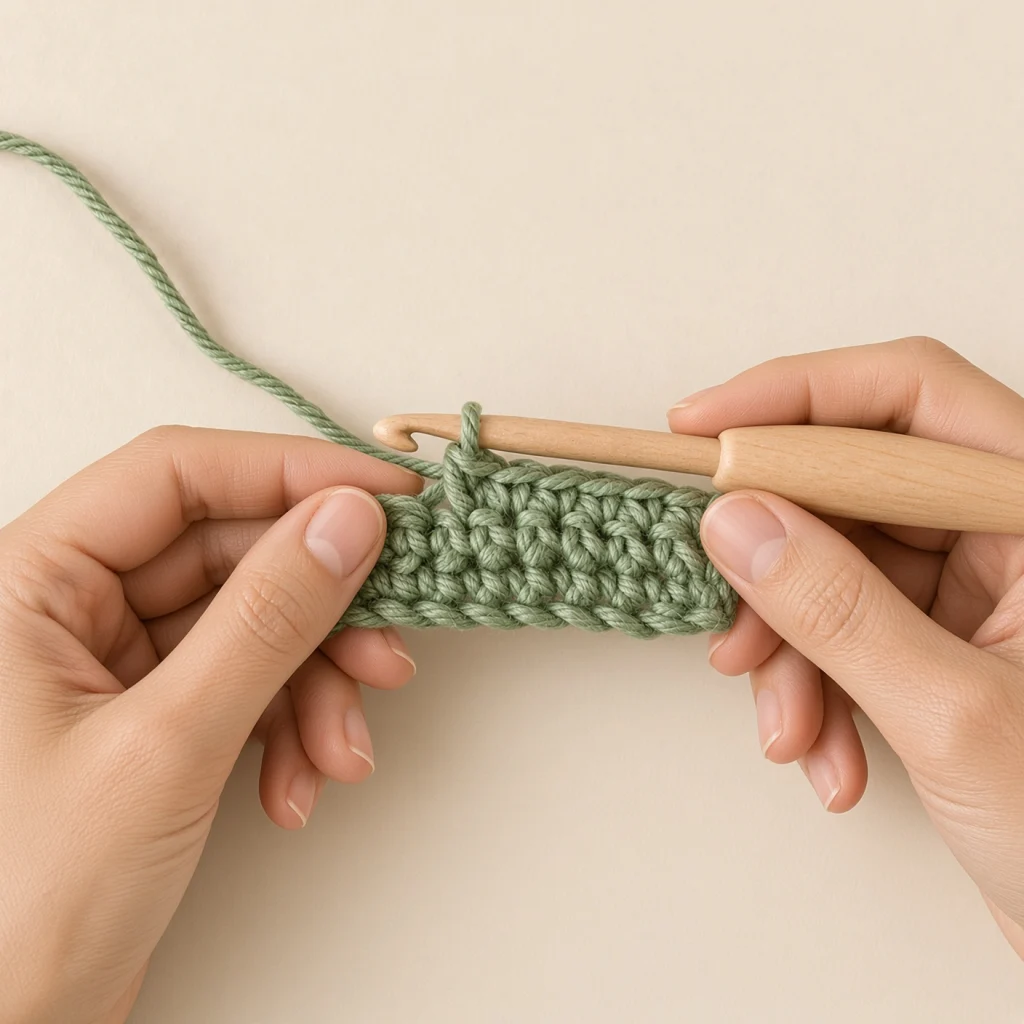
Yarn over, pull through 2 loops, then yarn over once more and pull through the last 2. You had two stitches, now you have one.
Tips
- Work only in the front loops, the ones nearest you. The usual decrease means going under both loops, and that leaves a bump.
- Don't make the loops too tight, keeping a soft tension helps the decrease stay smooth.
- Every decrease removes a single stitch. Since
Rnd 7: (sc 2, dec) x6 (18)has 6 decreases, 24 stitches turn into 18. - Shrinking a ball to finish it off? Add the stuffing while the gap is still big enough.
Try it on a toy
Choose one of our free patterns and use the method, or make your own pattern from a photo of something you like.
Good patterns to practice it on:
- Snowman crochet pattern (Easy)
- Pig crochet pattern (Easy)
- Chicken crochet pattern (Easy)
- Positive pickle crochet pattern (Easy)